If you have ever had leaky shower faucets, you must know that they are a menace to deal with.
A leaky shower faucet contributes to higher utility bills and water wastage. Fortunately, it is not an irreparable issue. You can quickly fix leaky shower faucets using the right tools and following the correct steps.
In this blog post, we will check out the common causes behind a leaking shower head, how to identify it, and a step-by-step guide to fixing it. Let us get started!
Identifying A Leaking Shower Head
Common Causes Behind A Leaking Shower Head
1. Worn-Out Washers
Washers are small rings at the base of the shower head valve stem that compress against the valve seat to prevent water leakage. Over time, these washers may wear out and get damaged - leading to your shower head leaking.
2. Damaged Valve
A valve seat is a small metal piece that acts as a barrier against the washer when the shower is turned off. It sits inside the shower head and prevents water from leaking out. Hence, if the valves get damaged or worn out, it is natural that the entire shower head will start leaking.
3. Corroded Shower Head
If your house gets a constant hard water supply, there is a chance that your shower head might get corroded. As a result, it may develop tiny cracks that allow water to seep out from them - leading to leakages.
4. High Water Pressure
If your water supply flows with abnormally high water pressure, there is a high chance that your plumbing system will wear out quickly. As a result, you may also notice water leaking from your shower heads.
How To Identify A Leaky Shower Head?
You can look for several signs if you suspect a leaking showerhead in your bathroom. The common ones include floor tiles under the shower head curling, peeling paint, and the chalky appearance of the wooden finish of your bathroom floors and walls.
Additionally, it would help to look out for mould in your bathroom since the constant moisture from a leaky shower faucet can facilitate its growth. Water stains on the floors or ceilings of your shower can also imply the presence of leakage.
Materials Required To Fix A Dripping Shower Head
1. Wrench
You’ll need to remove the nuts holding the shower head to the arm to fix any leaks. Once that’s done, inspect it for possible issues. An adjustable or deep socket wrench will come in handy for this job.
2. Pliers
While fixing any plumbing issue, you need to work with several minor components. Since holding and twisting such small parts is difficult, you might require pliers to work with them efficiently while fixing your leaking shower faucet.
3. Tape
You will require thread-sealing tape to effectively seal connections between the different parts of your shower head. Since loose connections are a common cause of a leaky faucet, it is essential to use a good plumber’s tape while fixing it.
4. Replacement Of Damaged Components
If your shower head leaks due to damaged components, it is crucial to replace them. Hence, you should purchase components like a new shower head, shower valve, diverter valve, o-ring sets, shower cartridge, and so on, depending on the cause of leakage.
Step-By-Step Guide To Fixing A Dripping Shower Head
Step 1: Turn Off The Water Supply
Before beginning any plumbing repair (fixing the shower head drip, in this case), turning off the water supply to the damaged component is essential. You can access the water shutoff valves built under your sink. If you can’t locate the shutoff valve, it is best to shut off the water supply to the house.
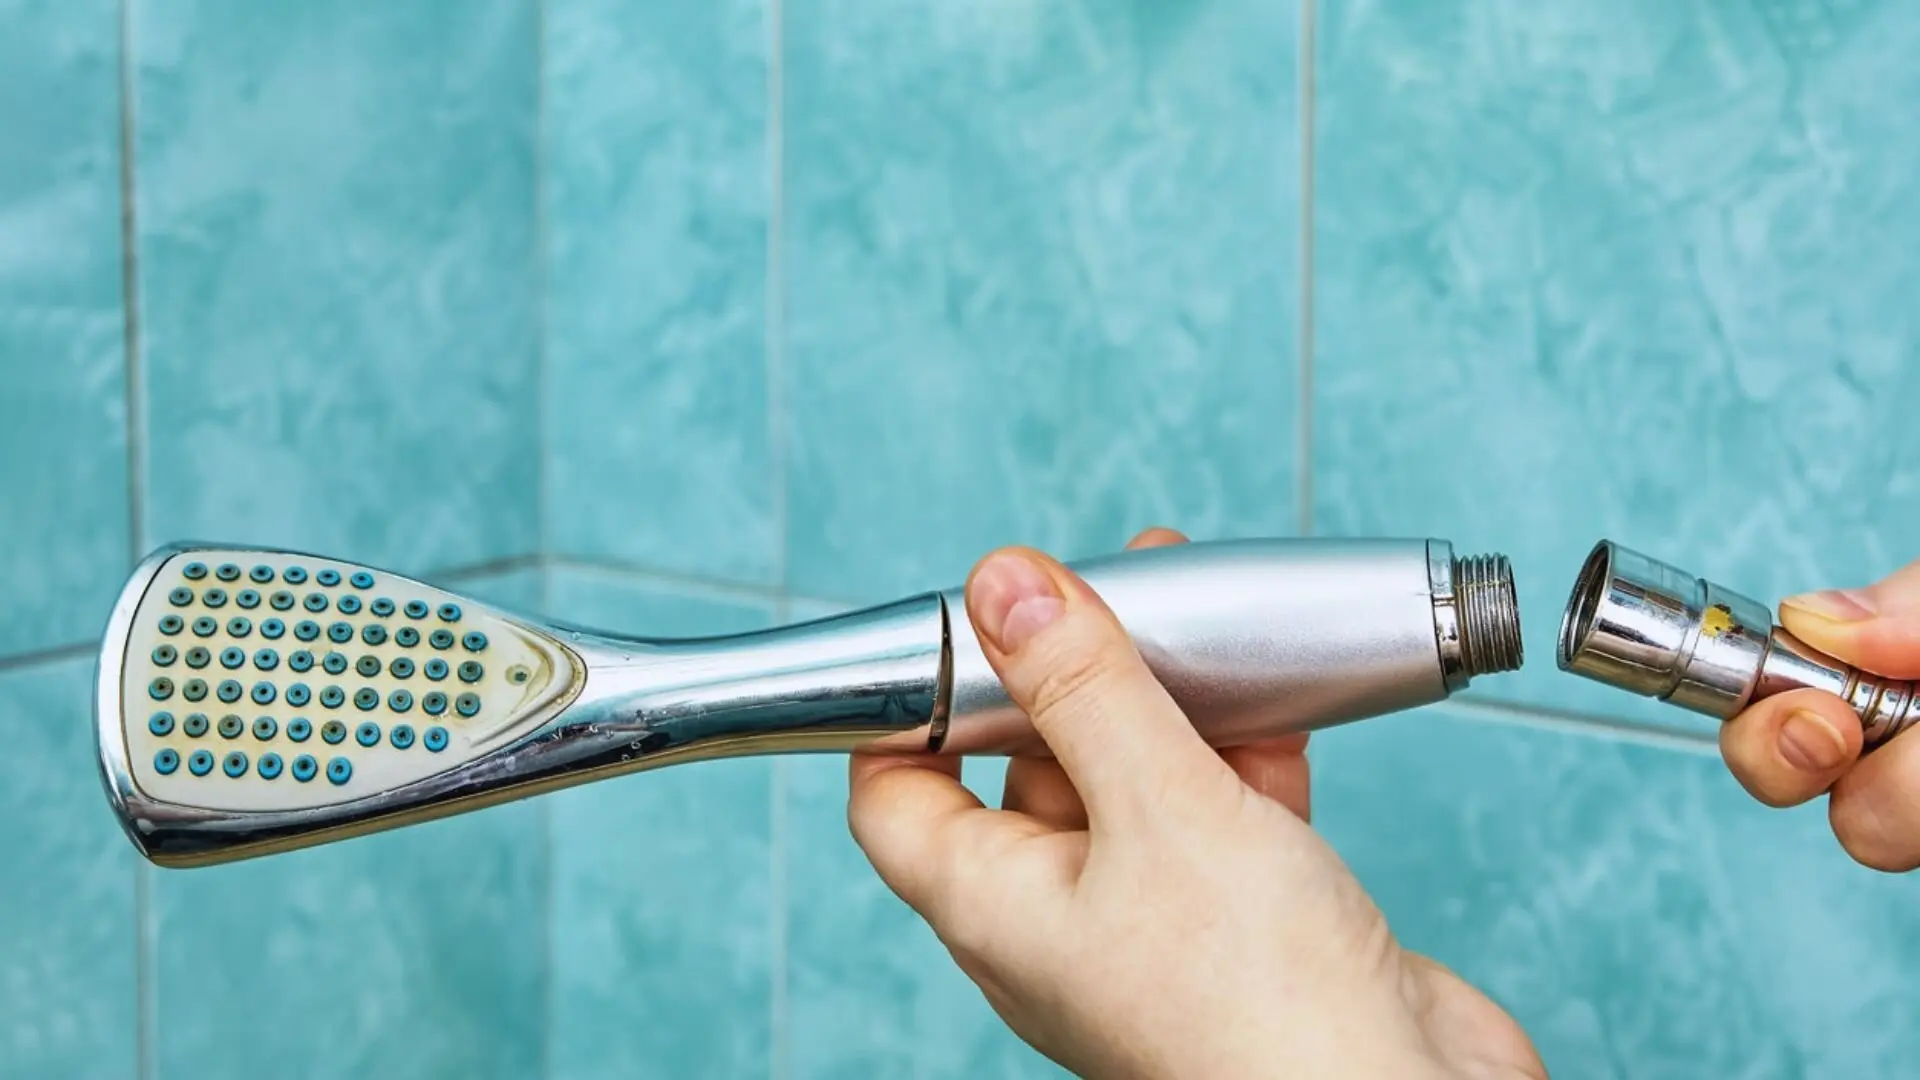
Step 2: Remove The Shower Head From The Pipe
Using a wrench, remove the shower head from the shower arm. You can do so by carefully turning the wrench in an anti-clockwise direction to loosen the nuts holding the head in place.
While carrying out this step, it is essential to note that being too aggressive may damage the pipe threads and nuts. Hence, be gentle while using a wrench.
Step 3: Disassemble The Shower Head
Once you remove the shower head, it is now time to disassemble it. Doing so depends on the kind of showerhead you possess. For instance, you may have to remove the retaining clip from the leaky shower nozzle or unscrew its faceplate.
It is strongly advised that you use a screwdriver or pliers to remove the screws and fasteners that hold the components of the shower head together. Be gentle at this step, as any aggressiveness might damage your shower nozzle’s delicate components (such as o-rings).
Step 4: Inspect And Replace Damaged Components
With all the components spread out, take a close look for any damage. Carefully check the rubber washer, diverter valve, o-rings, and valve body. If you spot any issues, swap out the damaged parts for new ones.
It is important to note that sometimes, damaged components may not be the culprit behind leaky shower nozzles. Issues like mineral deposits inside your shower fixture may also cause such leakages, so it is essential to look out for them. You can call a professional to help you out in such cases.
Step 5: Reassemble And Reattach The Shower Head
Once you are done inspecting and replacing the components, reassemble the shower head carefully. Use Teflon tape to seal all the threaded connections by wrapping the former around the latter clockwise.
Next, reattach the shower head to your faucet handle using a wrench. While doing so, ensure that no hex nuts are tightened to prevent damage to the threads.
Step 6: Test For Leaks
Turn on the water supply and check for any leaks. If you notice the water dripping even after the replacement of components, tighten the bolts a little more to ensure that there are no loose fittings.
Stop The Drip: Easy Fixes For Your Dripping Showerhead
A leaky showerhead can lead to higher utility costs and water wastage. Hence, it is essential to prevent this plumbing problem as much as possible. Fortunately, this plumbing issue is not highly complex in most cases, and you can fix it using a faucet washer kit.
However, if you feel stuck at any step or feel the problem is out of your expertise, Woolf Plumbing & Gas has you covered. Call us today and get a professional to quickly fix a leaky shower head!
FAQs
1. Can a dripping shower nozzle cause water damage?
Absolutely, a dripping shower nozzle can lead to serious water damage if ignored. It might cause your bathroom walls and floors to warp, lead to mould growth, and create unsightly water stains.
2. How long does it take to fix a dripping showerhead?
The time taken to fix a leaking shower nozzle depends on several factors, such as the cause of the issue and your level of expertise in the field. Considering that the cause of the leakage is mild and you have decent skills, it should not take over an hour in most cases.


