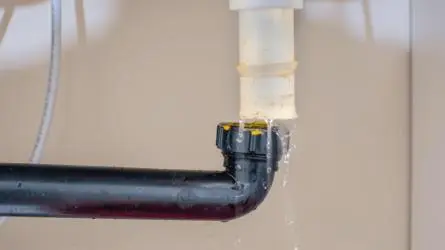
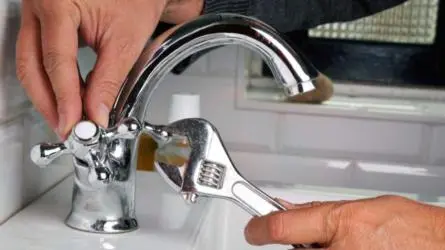
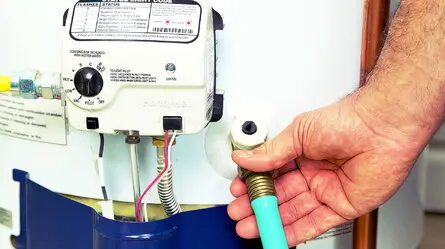
Notice a few damp spots in your living room or kitchen walls.
There is no way to identify issues by looking at the wall, but chances are there could be a leak in the walls, causing damp patches. Generally, homeowners do not know how to deal with it and ignore the occurrence.
The issue with an unchecked water leak is that it’s bound to spread and become more severe if left alone. So, if you spot a leak behind your wall, it’s best to act quickly before things go from bad to worse.
Finding A Leakage In The Wall
Wall leaks often spring from small plumbing issues or cracks and tears in the exterior. Even a tiny hole can divert water from its intended path, leaving streaks on your walls.
Many people use tools like moisture meters or infrared cameras to pinpoint leakage causes. But there are some other steps you can take to address wall leaks too:
3 Things You Should Do To Deal With Leakage In Walls
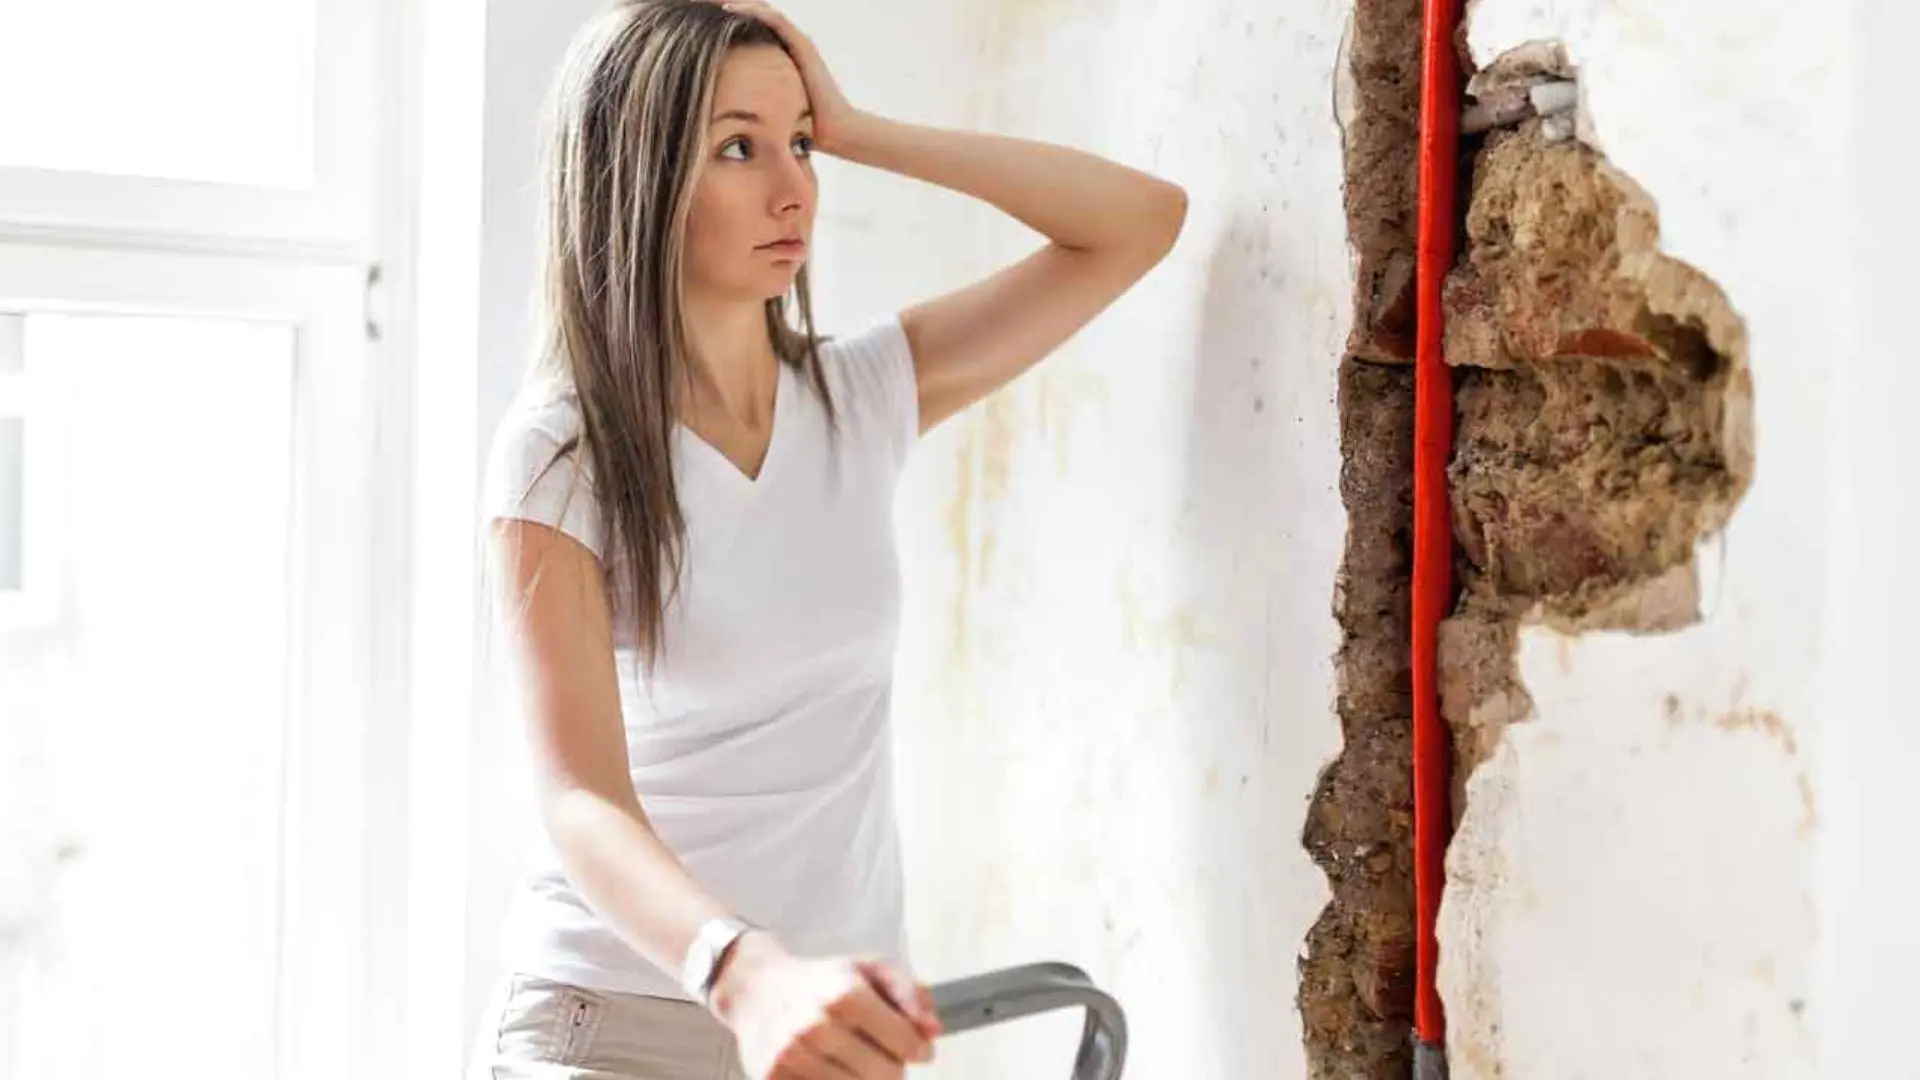
1. Identify The Source Of The Leak
With water leaking into the wall of your house, it is only natural to panic and wonder what’s wrong with your plumbing system. But if you take a few moments to investigate, you’ll get to the bottom of the matter.
First, check the interior plumbing for defects by checking the water meter. Turn off all the faucets and taps before noting the water reading. Wait for at least three or four hours without fixtures and recheck the reading. If the amount of water used has increased, you can be sure it might be an internal plumbing leak.
When the reading is unchanged, check for other issues like clogged gutters, improper caulking, and exterior plumbing. However, this issue could also arise due to improper drainage, cracked pipes or other damages. If you have access to tools, use them to find the source of the leaks at home.
A. Infrared Camera
As the name suggests, this camera uses an optical system to detect the area’s required energy levels and temperature. This system moves the camera along the walls to find a hard place. If one spot on the wall appears more relaxed than the rest of the area, water may have leaked and collected there.
B. Moisture Meter
You can test any suspicious area with a moisture meter. This handy device measures moisture levels on any surface. Move it around your walls to locate leaks, and the spot with the highest reading is probably closest to the source.
2. Repair If Something Needs Fixing
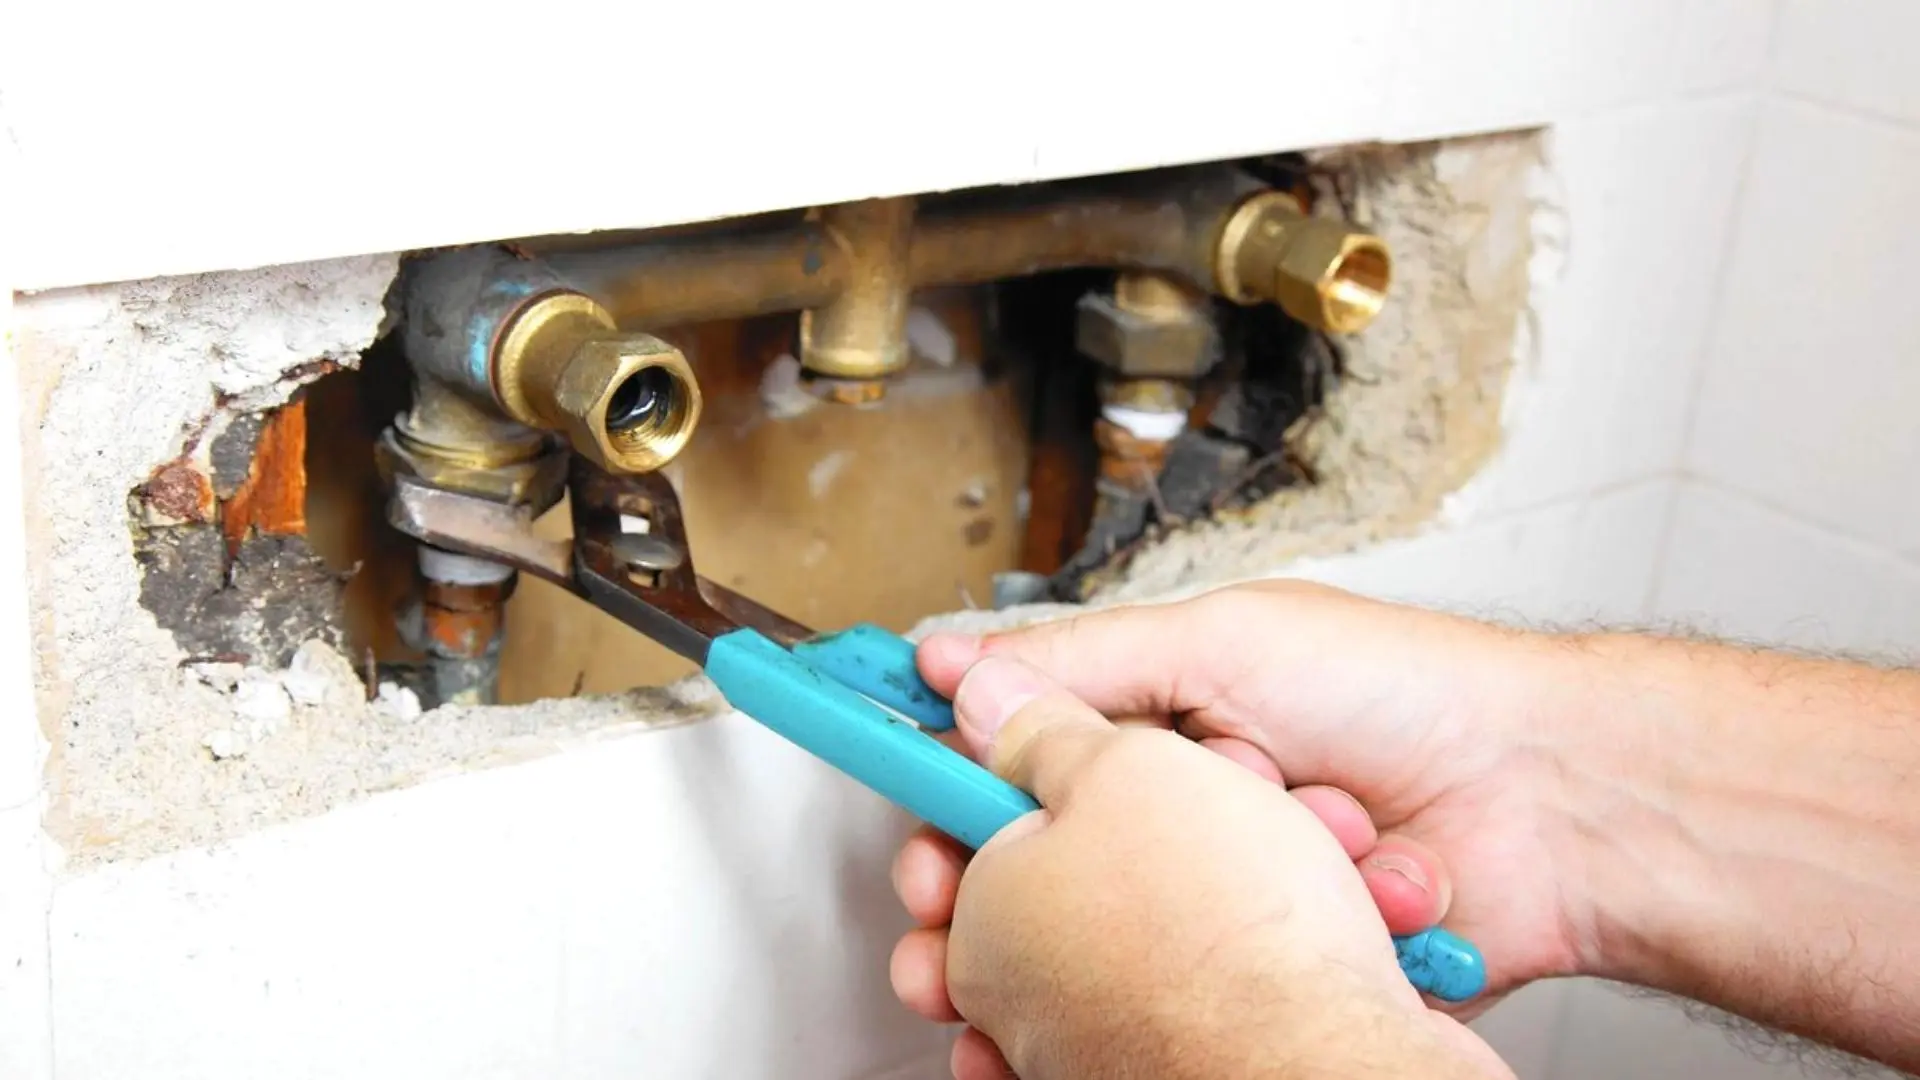
Once you have narrowed down the problem area, see what you can do to fix it as soon as possible. With interior plumbing issues, you may have to call a professional plumber to cut the wall section. A licensed technician will be equipped to see the leaking pipe area promptly, fix any leaking taps, and replace the damaged sections.
If patching and caulking are needed, go ahead and complete them, finishing with primer and a fresh coat of paint. Be sure to remove the old caulking and choose one suitable for your project.
If you are confident about your skills, DIY the caulk with a caulk gun and apply it to the area at a slight angle.
Leaking issues in the downspout or sprinkler system might be slightly more challenging. Remember that water flows through the downspout and should leave the house and foundation. If not, there is a chance of internal leaks occurring.
3. Prevent Further Occurrences
A. Clean The Gutters
Hidden leaks are most often found when they appear on the wall as damp patches. However, you can prevent such occurrences by following a few practices, like keeping gutters clean. If your area has been hit by heavy rainfall, make it a point to clear the rain gutters the very next day.
B. Check The Roof Periodically
Also, check the roof and window weep holes for signs of leakage. Since these parts are visible outside, cracks or dents are readily recognisable. You can also upgrade the home insulation.
C. Upgrade The Insulation
With age, the home insulation can weaken and allow the temperature from outside to affect your plumbing system. As you may know, frozen, burst and blocked pipes are waiting to happen. So, if you haven’t changed the insulation for years, maybe it’s time to get an upgrade.
D. Consult A Professional For Check-Ups
Annual plumbing inspections will help you get to the bottom of issues before they even surface. The plumbing system especially has a bunch of copper pipes and iron parts that tend to rust and corrode over long-term use. Checking which needs replacing will help keep the system in good shape.
Fixing Your Leaking Wall
This brief guide covers some ways to address wall leaks, but taking proactive measures can help maintain your plumbing. Though not mandatory, we recommend HVAC checks twice a year. These inspections can uncover wall or ceiling faults, preventing major mishaps.
Finally, do not hesitate to contact us if you are experiencing a water leak in Perth. Woolf Plumbing can assist you in identifying the cause of the problem and provide you with a permanent and cost-effective solution.


