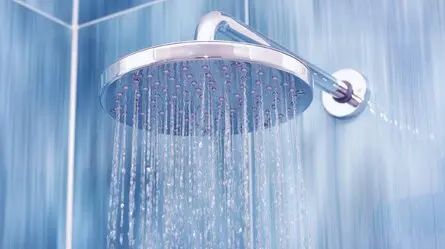
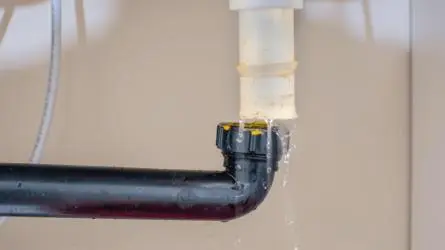
Sometimes, you might find yourself needing to swap out a showerhead, either for functionality or to refresh your bathroom’s look.
When it’s time to change your showerhead, it can seem a bit daunting at first. You need to make sure the new fixture is secure and leak-free. After all, nobody wants to deal with a dripping or malfunctioning shower on a busy weekday morning!
Switching out an old showerhead for a new one is pretty straightforward. You’ll only need a few minutes to get it done and ready for use. This small change can really boost your shower’s comfort.
So, follow this simple guide to change a shower head without requiring any professional help!
Changing A Shower Head In 7 Easy Steps
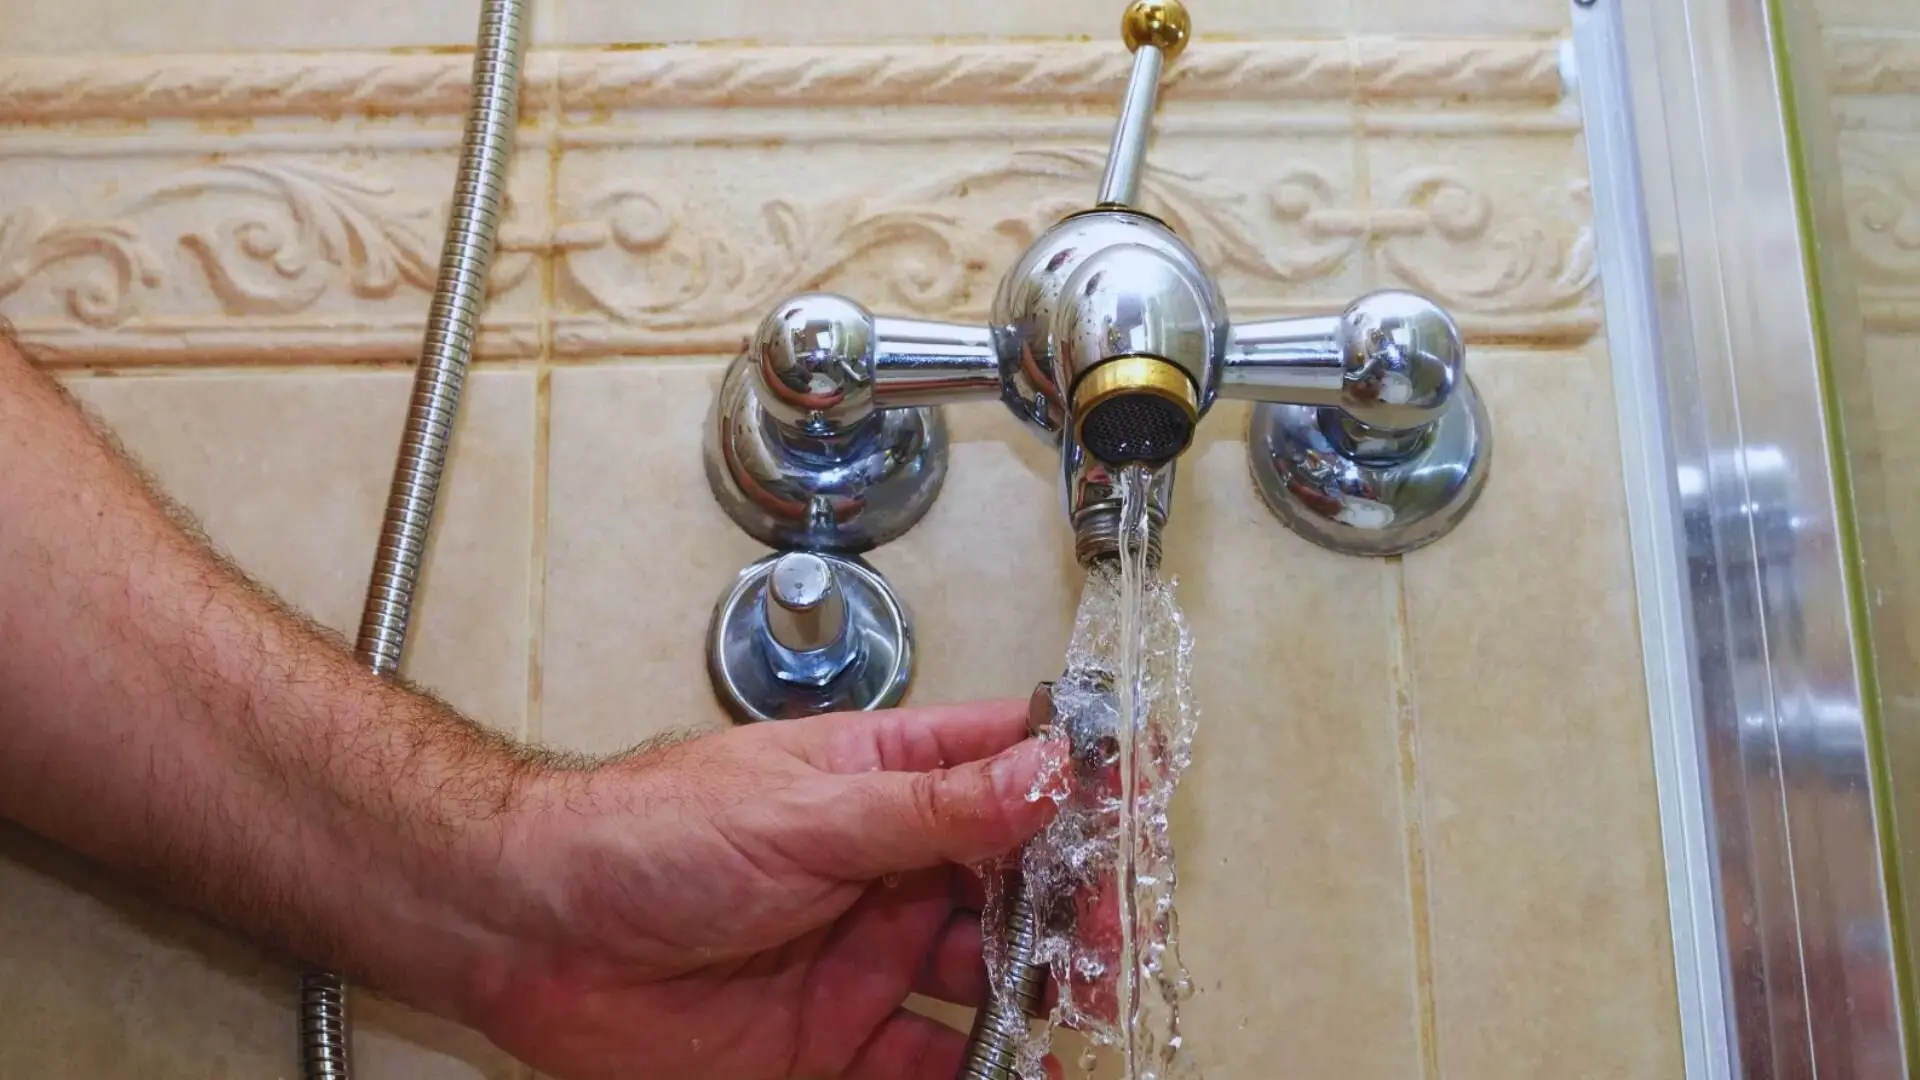
Step 1: Gather Tools And Supplies
No worries if you’re without a tool kit! Most of the items you’ll need to change a showerhead are common in households or easily picked up at a nearby hardware store.
To change a showerhead, you will need the following:
- A replacement showerhead
- Plumber’s tape or thread tape
- Soft cloth or soft-jaw pliers
- An old toothbrush or wire brush
- Step stool or ladder
- Adjustable wrench
Step 2: Turn Off The Water Supply
First, turn the water supply off before proceeding to save water and keep the installation simple. You needn’t turn off the water supply to the entire house; it’s just the bathroom the shower head is in.
Should you neglect to do so, the moment you take the existing shower head off, you will be greeted by a stream of high-pressure water. This is both a hassle and a potential hazard, depending on the location of the shower head.
Step 3: Remove The Old Shower Head
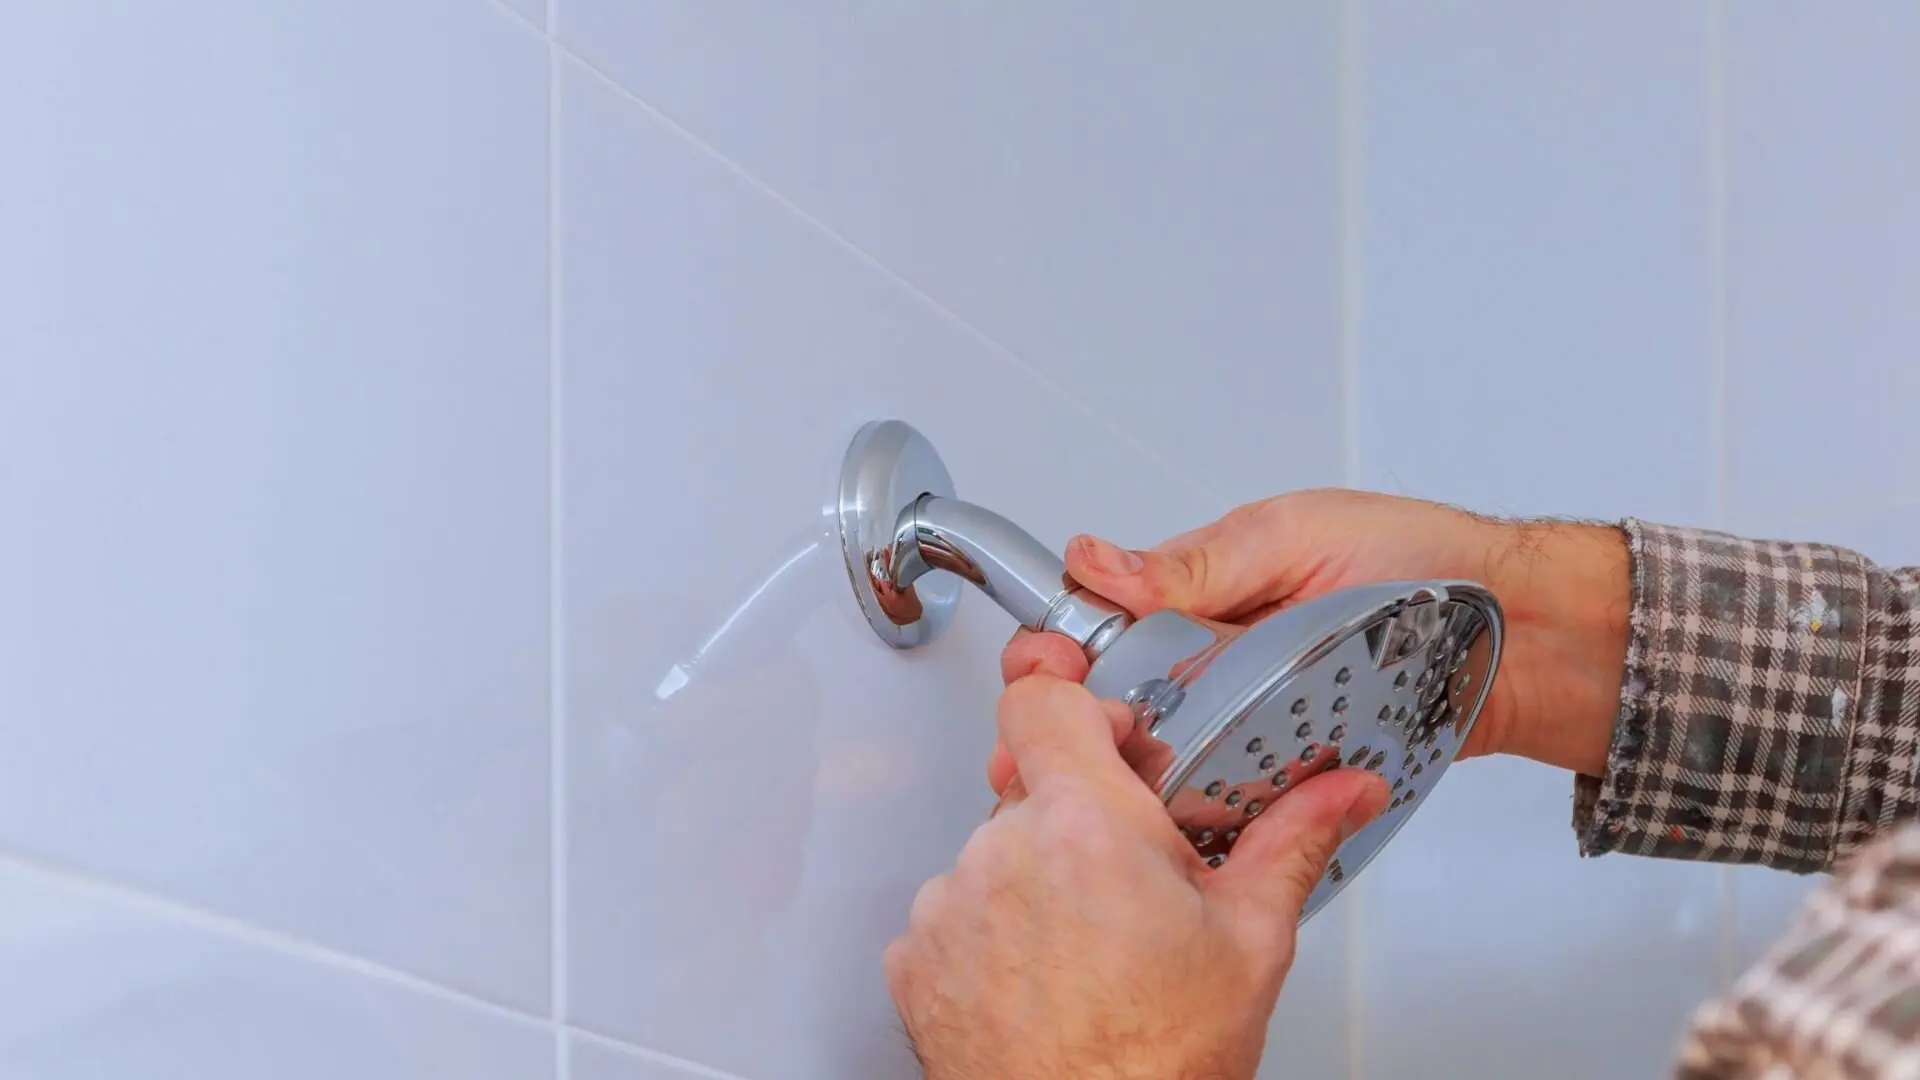
Wrap a soft cloth around the pipe in the wall, grab the shower head tightly and turn it counterclockwise to unscrew it. If the life of your shower head has run short, it may be rusted and require that you use an adjustable wrench instead.
You must be careful while turning the fixture, as excessive force may damage the shower head pipe.
Step 4: Clean Up The Fixture Pipe
Next, remove excess dirt or mineral deposits in the fixture pipe coming through the wall. Over a few years, the pipe may rust and become weaker, which can spell trouble for the new shower head.
Use an old toothbrush or a wire brush to clean up the pipe in the wall, then dry it with a cloth. Alternatively, you can use a damp paper towel.
Step 5: Apply Plumber’s Tape
Creating a waterproof seal is one of the most crucial parts of shower head installation. You can use thread-sealing Teflon tape that wraps around the connecting pipe.
Start near the end of the pipe and wrap it around clockwise until you reach the end of the pipe threads. This ensures that your thread tape doesn’t slip off over time.
Here’s a handy tip to keep the seal as watertight as possible: use a single piece of thread-sealing tape for this step. That way, there will be no breaks in the thread-sealing tape and no chance of water leaking.
Step 6: Install The New Shower Head
Installing the replacement showerhead is as easy as removing the old one. Hand-screw the shower head on and carefully tighten it until it no longer turns. As with the old shower head, be sure not to apply too much force, or else the threaded end of the pipe may snap off.
Additionally, feel free to look up the product’s instructions for a detailed look at any model-specific requirements. For instance, a handheld shower head may require a dedicated wall-mounted holder for the flexible shower hose and the shower head.
While the installation process remains broadly the same across different shower head types, following the instructions can make your showering experience trouble-free and smooth.
Step 7: Test For Leaks And Water Pressure
Finally, it’s time to turn the fixture on and test for leaks. Resume the water supply and check if the shower head pipe has any water leaks.
Next, step aside and turn both the cold and hot water on at maximum settings. If you spot leaks, you may need to remove the shower head and apply sufficient tape to the pipe. You may also want to examine the rubber seal in the fixture to see if it lines up correctly.
Make adjustments as needed to keep the water flowing steadily and ensure the showerhead is securely attached. Once you’ve sorted out any leaks, your new showerhead is good to go!
How To Choose A New Shower Head
Shower heads can be broadly segregated into four types based on the shower head type, water pressure, spray pattern and aesthetics.
1. Shower Head Type
You can choose between several different types of shower heads, with the most common being:
- Wall-mounted and single-headed shower heads
- Handheld shower heads
- Ceiling shower heads
- Double shower heads
Pick the one that best suits your needs from these options, and enjoy your showers!
2. Water Pressure
Showerheads need a specific water pressure to work well. If your home often struggles with pressure issues, consider choosing a showerhead that doesn’t need much pressure to function effectively.
Ideally, look at water pressure requirements to land somewhere between 40 and 60 PSI (per square inch).
3. Spray Pattern
How the shower head sprays water greatly creates an excellent shower experience. You may choose between the following spray patterns:
- Wide spray
- Rinse spray
- Targeted spray
- Pulsating spray
This is predicated on your preferences, so feel free to experiment and find out what kind of shower pattern you prefer.
4. The Aesthetics
When it comes to aesthetics, you should pick a showerhead that matches the looks of your bathroom. And since shower heads last a long time, you can also try to choose a design that fits various bathroom styles. After all, if you don’t need to replace your existing shower head even after a bathroom renovation, that’s some money well saved.
Changing Your Showerhead DIY Style!
Swapping out your showerhead yourself is pretty easy and usually doesn’t need extra assistance. It’s a quick job with basic tools, making it as hassle-free as possible.
But there will be those rare times when you need professional help to solve the problem. You will need a licensed plumber to address the issue of a broken shower head pipe threading to a leaky shower arm.
So, if you ever need plumbing assistance, please call us. Our team of experts can help with everything from repairs and installations to shower head maintenance


