It’s a familiar scene in countless Aussie homes: the laundry basket overflowing, weekend adventures catching up with you. Maybe it’s footy boots caked in mud or beach towels heavy with sand. Then, disaster strikes – your washing machine decides to call it quits. Replacing it is essential, but the thought of installing a new one yourself can cause a headache. With the right information and preparation, installing a washing machine is a DIY task you can conquer.
This guide will prove you don’t need a background in plumbing or engineering to set up your washing machine. We’ll go through everything, from picking the ideal washer for your situation to that satisfying final spin. So, gather your gear, leave stress behind, and prepare to master laundry installation!
Preparation is Key
A successful washing machine installation begins long before you connect those hoses. With some planning, you can save time, avoid frustration, and prevent leaks.
Consult the Manual: Your washing machine’s user manual is your best friend during installation. It will provide specific instructions tailored to your model, including hose connection details and any special tools required.
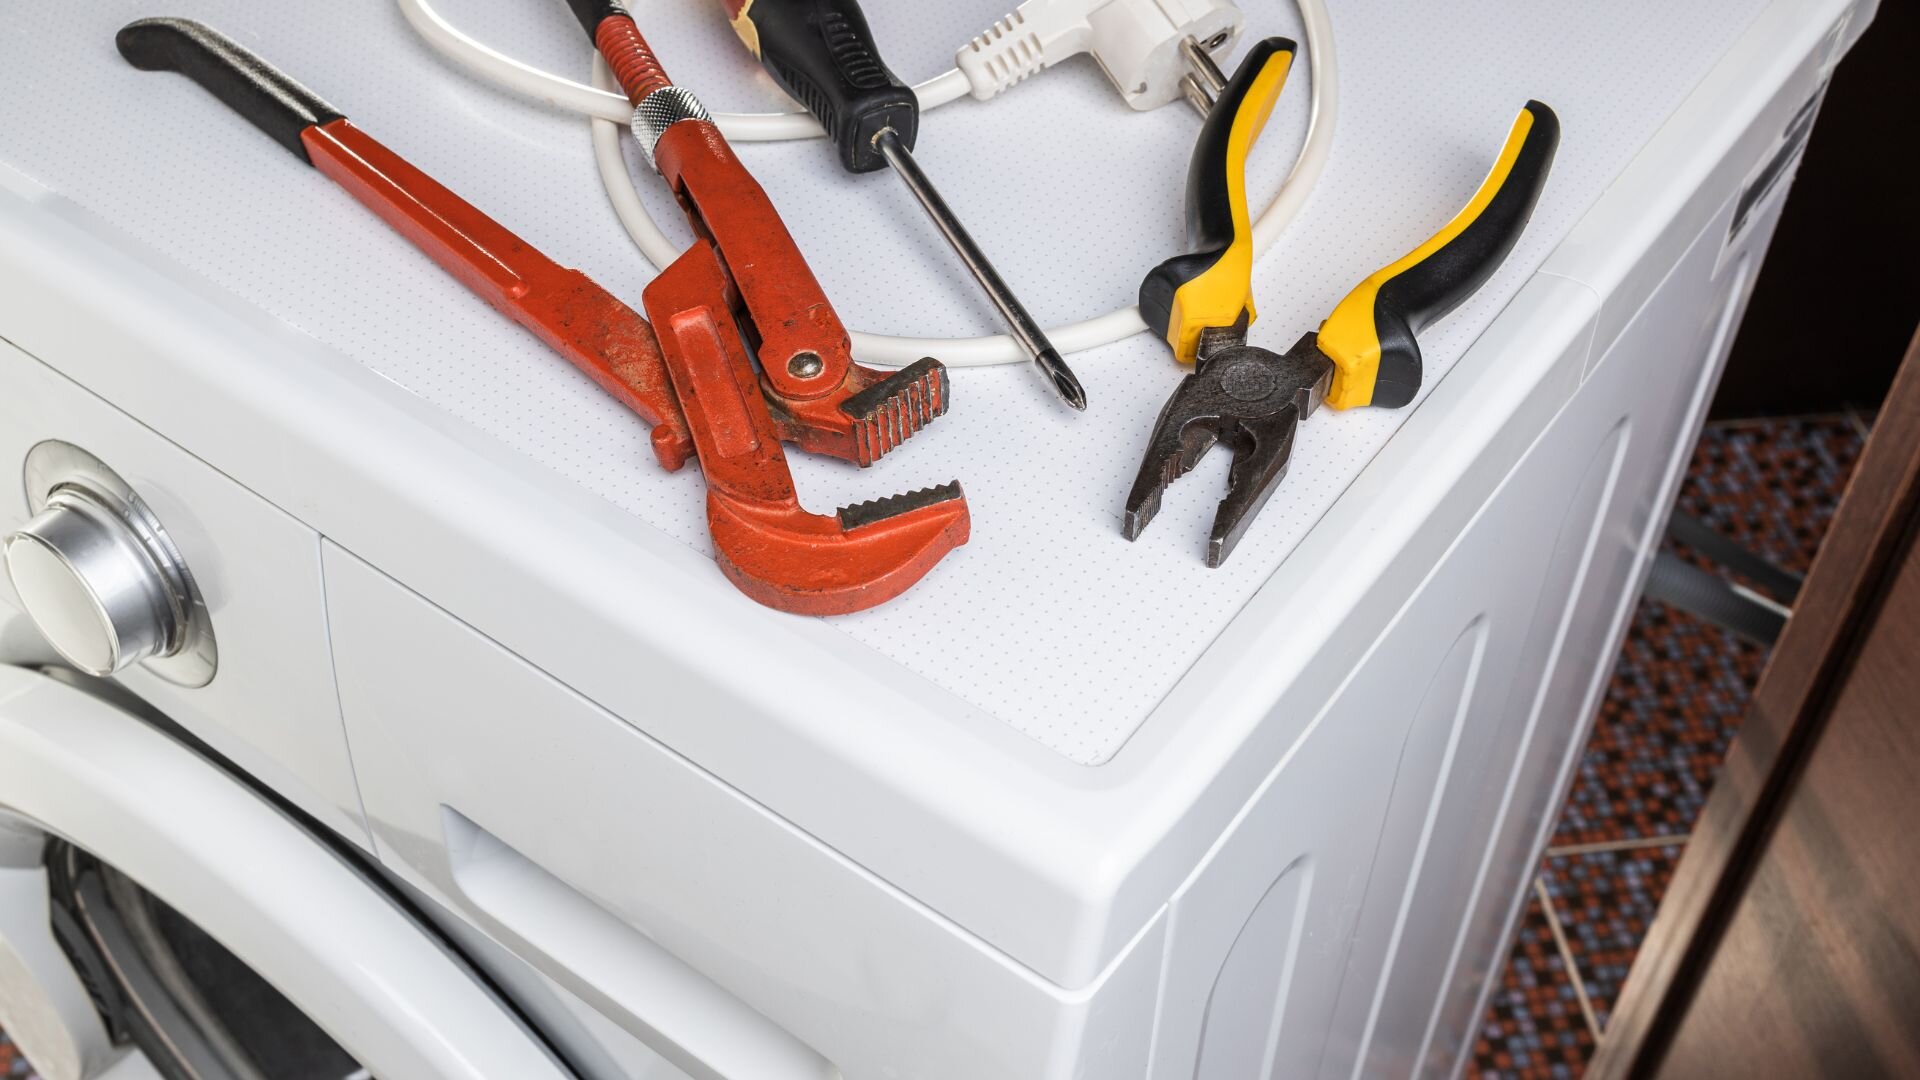
Gather Your Supplies: Before you dive in, make sure you have everything you need. Here’s a handy checklist:
- Tools: Adjustable wrenches, screwdrivers (flathead and Phillips), pliers, and a bucket.
- Materials: New washing machine hoses (check the length required for your set-up) and plumber’s tape for secure hose connections.
Safety First: Always prioritise safety. Turn off the water supply valve connected to your old washing machine before disconnecting any hoses. This helps prevent accidental flooding.
Getting prepared is the key to a smooth, stress-free washing machine installation. So grab your checklist and user manual — and let’s get started!
Making Space for Your New Machine
Before you get your shiny new washing machine home, it’s a good idea to check that it will fit where you plan to put it. Measure your laundry space carefully, making a note of the height, width, and depth. Don’t forget to factor in any hoses or vents that might need extra room at the back of the machine.
Next, check the doorways and hallways leading to your laundry. If your laundry space is tucked away around a corner, measure the doorway width and height to ensure your machine can pass through.
If you’re planning on stacking your dryer on top of your washer, consider the combined height of both machines and check it against the available space. Remember to allow some wiggle room to get them into place.
Moving and Unpacking Your Washing Machine
Once your new washing machine arrives, it’s important to unpack it safely. Start by gently cutting away the packing straps and tape. Lift the cardboard and any other packaging materials off, making sure not to tug on any cords or hoses by accident.
Given the weight of washing machines, it’s advisable to have a helper when lifting and moving them to avoid injury. Coordinate to lift steadily and keep the machine balanced to prevent any sudden drops or tilting.
Once unpacked, dispose of the packaging materials responsibly. Recycle cardboard and plastic where facilities exist, and consider reusing packing materials if possible.
Water Connections
Find the hot and cold water supply valves, usually located behind where your washing machine will sit. These valves play a crucial role in controlling the water flow to your machine.
Ensure that you turn off these supply valves before attempting any hose connections. This prevents water from gushing out when you install the hoses.
Attach the hoses from the washing machine to the respective valves. Most machines and hoses use colour-coded connections — red for hot and blue for cold — to simplify this process. Check that each hose is connected to the corresponding coloured valve.
For a secure and leak-proof connection, wrap the plumber’s tape around the valve threads before attaching the hoses. Screw the hoses on by hand and then tighten slightly with pliers; avoid over-tightening, which can damage the threads.
Consider using alternative hoses, such as braided stainless steel, for enhanced durability and added peace of mind against leaks.
Drain Hose Installation
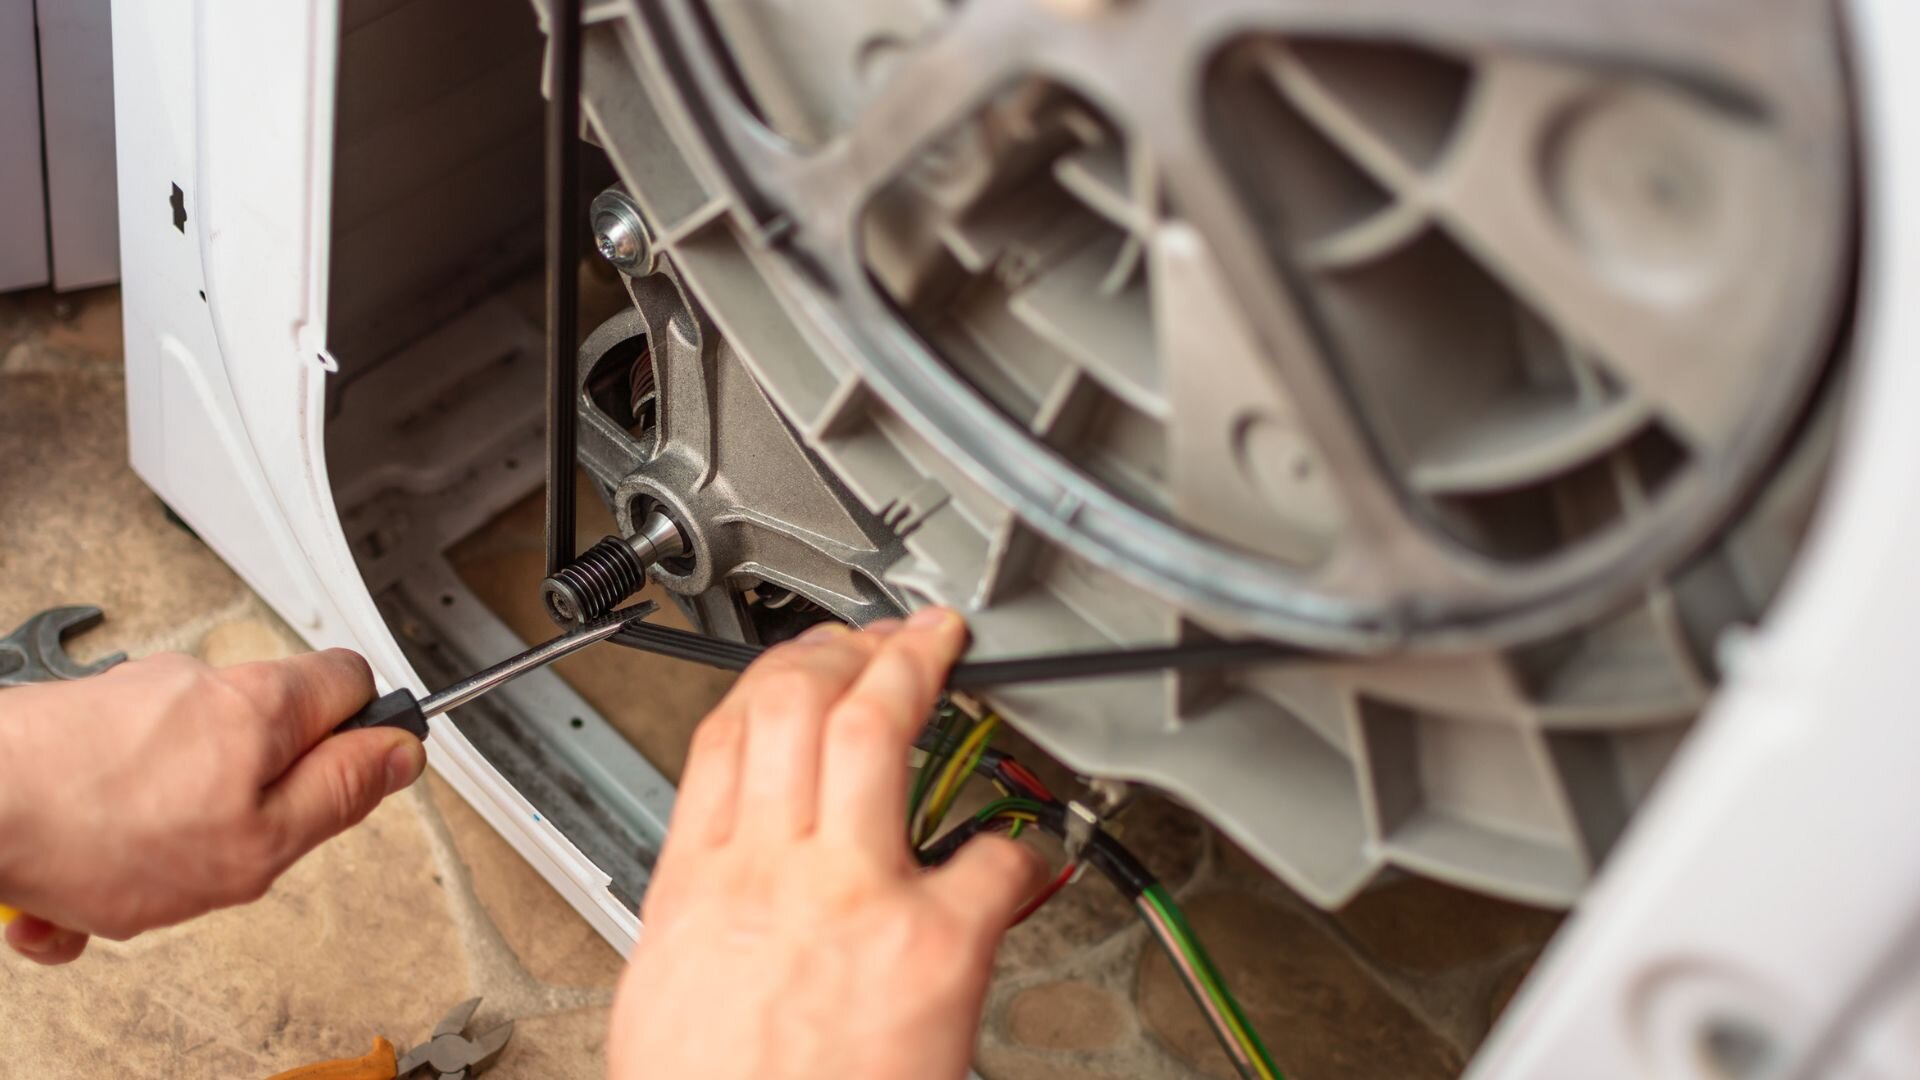
The drain hose is vital for removing used water from your washing machine. Proper installation is key to effective and safe operation.
For standpipe drainage, connect the drain hose to a standpipe ensuring that the hose’s end remains above the base of the washing machine. This height is important to prevent backflow of dirty water into the machine.
Secure the drain hose to a floor drain using a drain trap for floor drain placement. This setup helps in preventing odours from coming back up through the drain.
Levelling the Machine
A level washing machine is essential for reducing operational noise and vibrations. Locate the adjustable levelling feet at each bottom corner of the machine.
Place a level tool on top of the washing machine to check the balance. Adjust the feet by screwing them in or out until the machine is level from front to back and side to side.
Powering Up
Plug your washing machine into a dedicated electrical outlet, ensuring it’s properly earthed and fits your machine’s voltage needs to steer clear of any electrical hazards.
Test Run and Final Checks
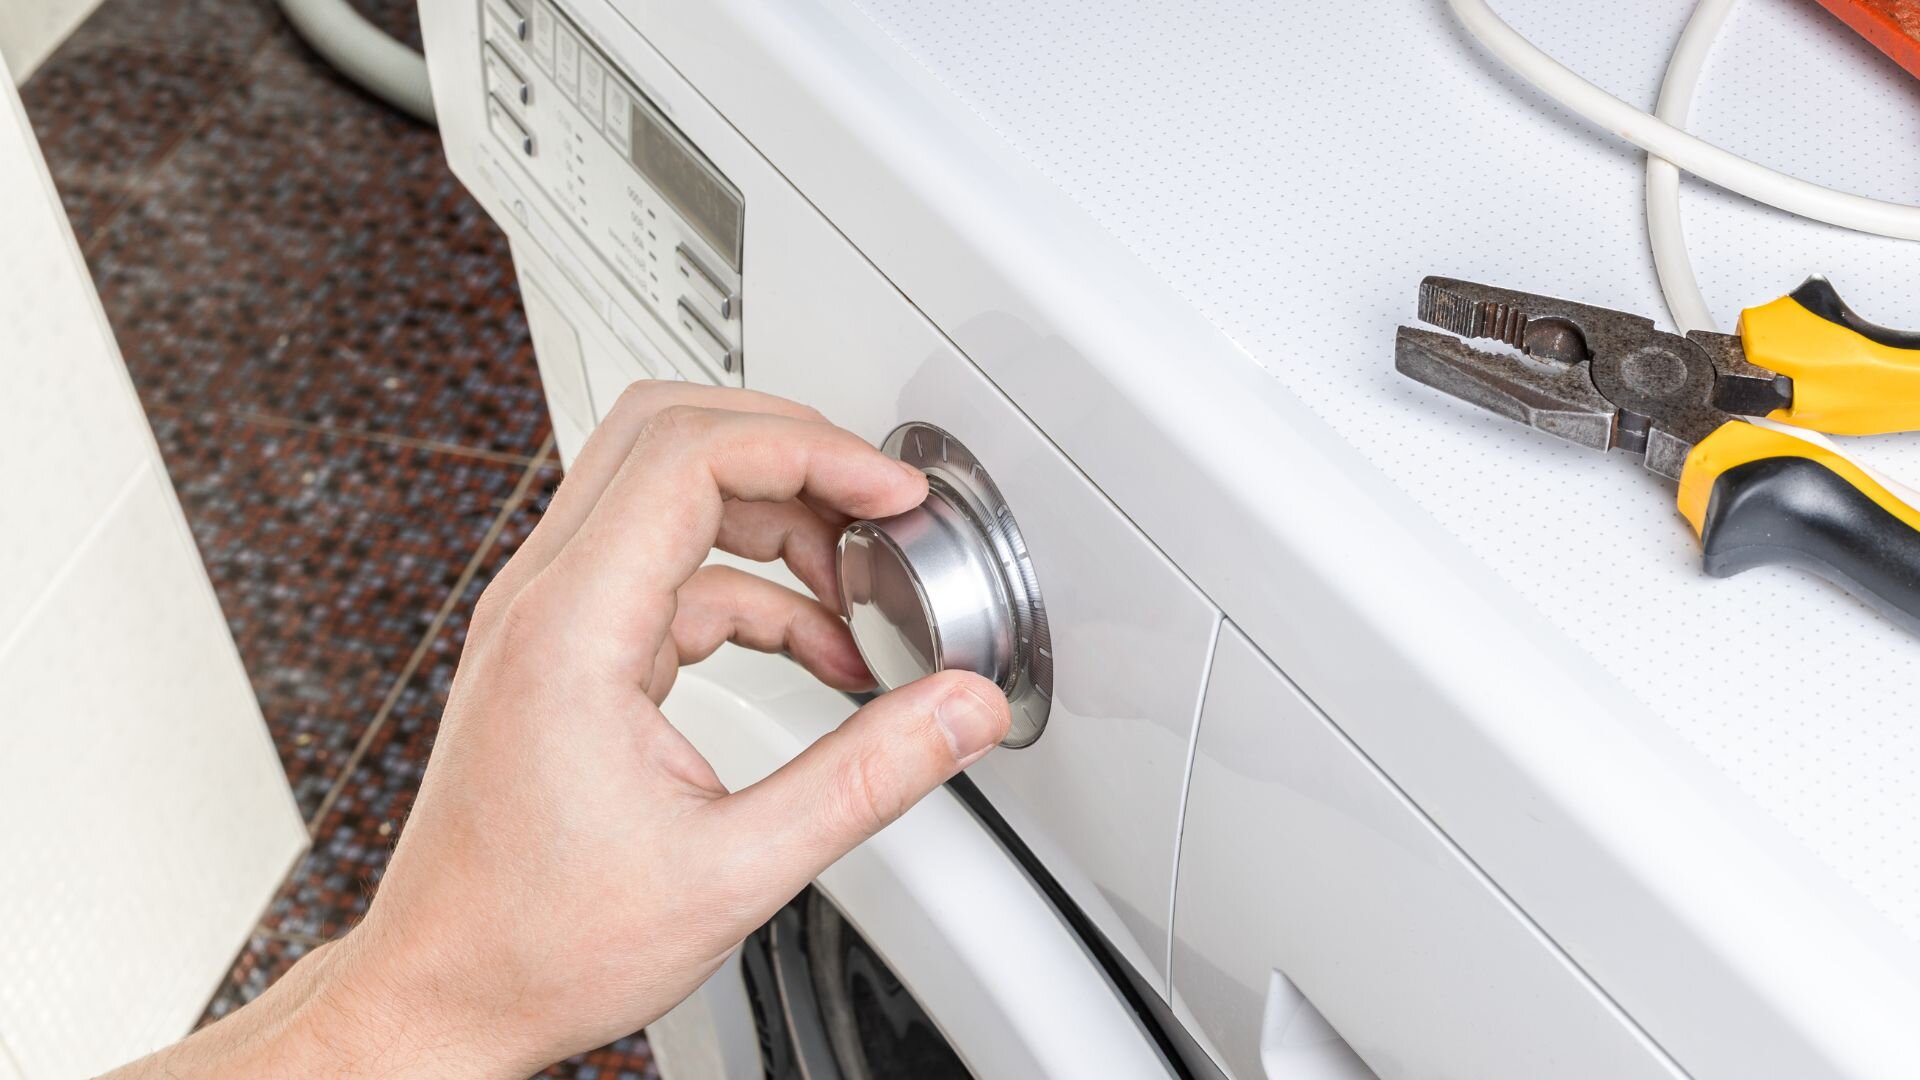
Before you begin using your washing machine regularly, conduct a test run. Choose a short wash cycle and operate the machine without any clothes. This helps in checking for any leaks and ensuring everything is functioning correctly.
Listen for unusual noises during the test and check for loose connections. Address any issues immediately to ensure smooth operation going forward.
Woolf Plumbing: Your Trusted Appliance Service Partner
Congratulations! You’ve successfully installed your washing machine. Now, sit back, relax, and enjoy the convenience of clean clothes on demand.
At Woolf Plumbing, we understand the importance of functioning appliances in your home. While this guide empowers you for DIY installation, unforeseen complications can arise. Our licensed plumbers are experts in washing machine installations and repairs. Contact Woolf Plumbing today for a worry-free washing machine experience!


