Ever thought, “Surely I can install a toilet myself, how hard can it be?” You’re not alone. Whether you’re updating an outdated bathroom, dealing with a leaky loo, or just keen to take plumbing into your own hands, installing a toilet yourself can save serious cash and teach you a handy new skill.
It’s one of those DIY jobs that seems more complicated than it really is. With the right tools, a little patience, and a straightforward guide, it’s entirely possible to get it done in an afternoon. This post will walk you through the whole process from what you’ll need before you start to each key step, plus safety tips and a few tricks for avoiding rookie mistakes. By the end, you’ll be more than ready to tackle your toilet like a seasoned home renovator.
What You’ll Need Before You Begin
Before you start anything, make sure you’ve got everything you need laid out. Having your tools and materials ready to go will make things smoother and quicker.
You’ll need a new toilet (complete with pan and cistern), a reliable adjustable spanner, a screwdriver set, plumber’s tape for watertight connections, silicone sealant for the finish, a level to ensure stability, rags or towels for clean-up, a bucket, and safety gloves for protection.
Make sure to turn off your water supply before touching anything plumbing-related. Also, it’s worth double-checking local plumbing codes some areas require certain steps (like final water connections) to be done by a licensed professional, even if the rest is DIY-friendly.
Step 1: Remove the Old Toilet
The first step in your installation journey is getting rid of the old toilet. Start by shutting off the water supply at the isolation valve. Give the toilet a full flush to empty the cistern. There will always be a bit of leftover water in the pan or pipes grab a sponge, towel, or bucket to soak or bail it out.
Next, disconnect the water inlet hose from the base of the cistern. Using your spanner, unscrew the bolts anchoring the pan to the floor. Some older models may be siliconed down, so be ready for a bit of prying.
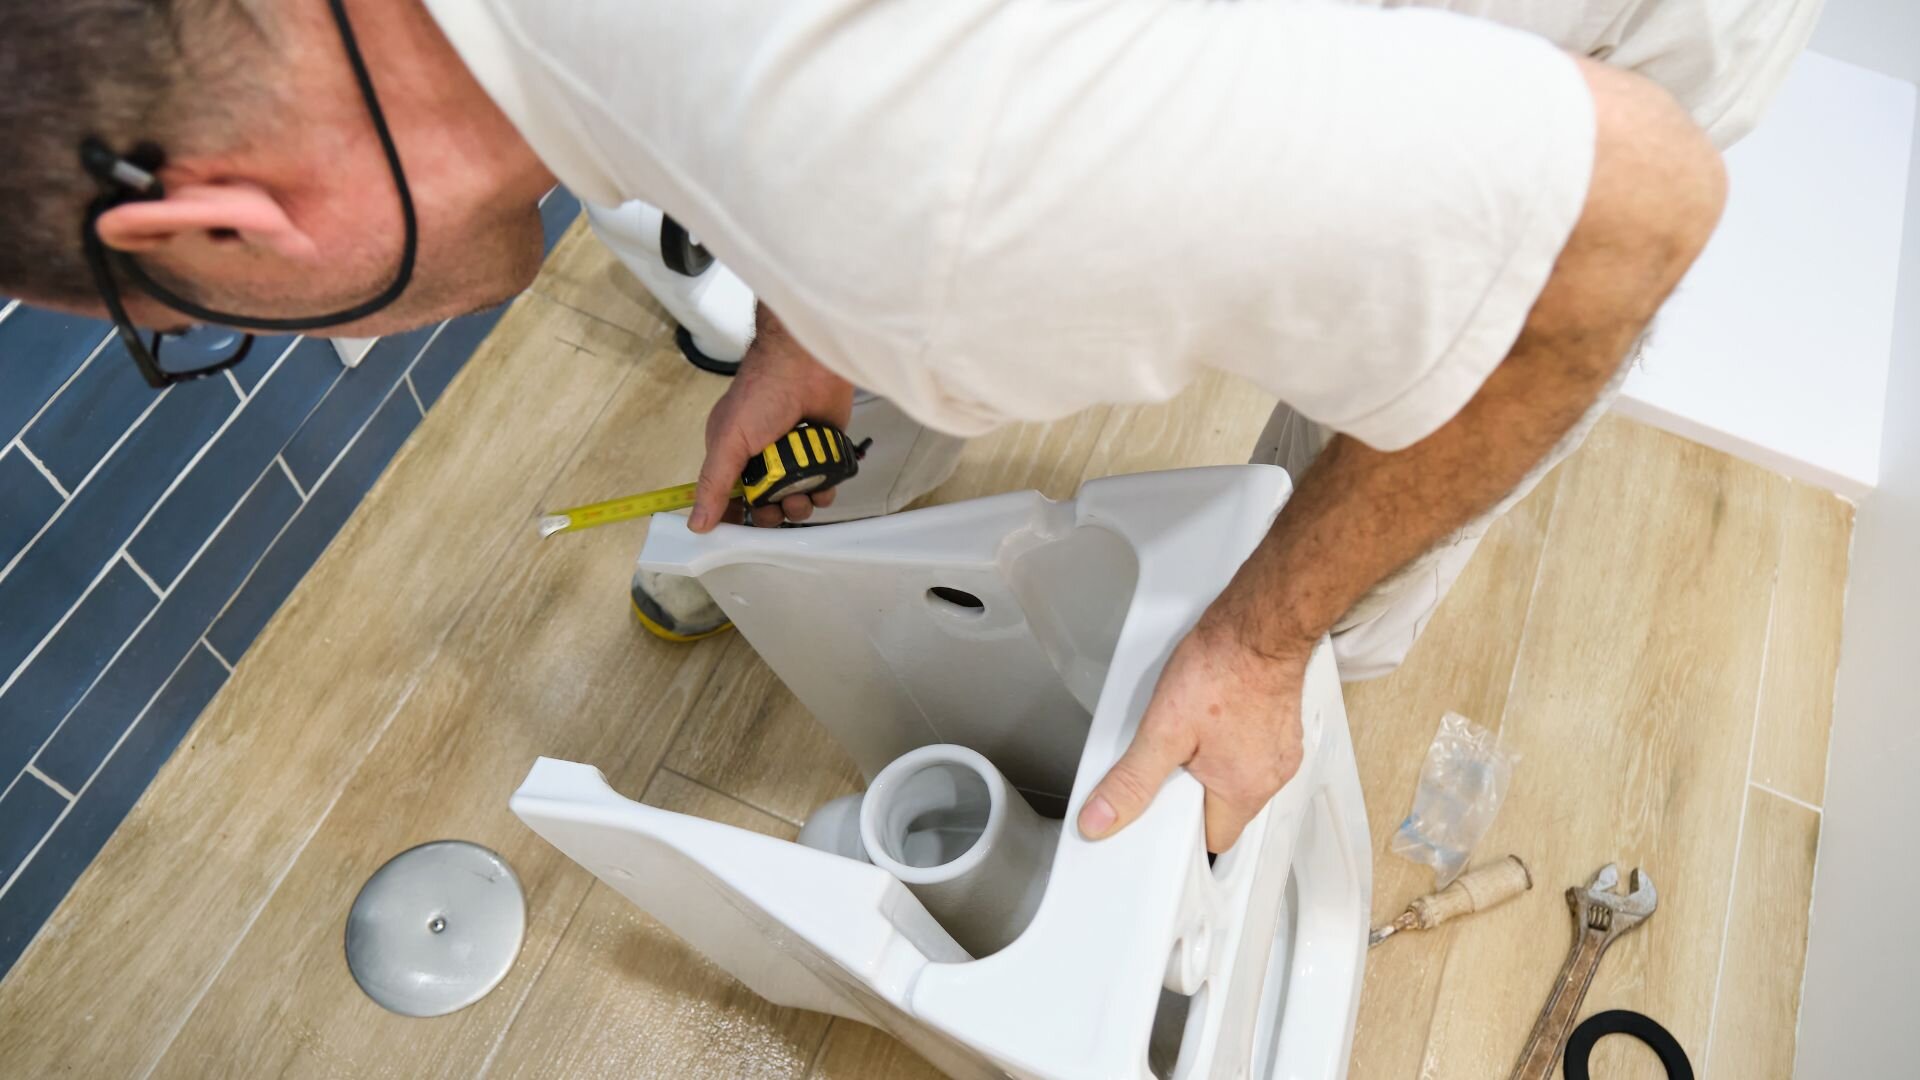
Once everything’s detached, gently rock the toilet back and forth to break the seal, then lift it out. It may be heavy, so lift with your legs, not your back. Lay down towels to avoid dripping water on the floor.
Dispose of the old toilet responsibly many councils offer hard waste collection or drop-off centres. While the unit’s out, check the floor and toilet flange underneath. Look for any cracks, mould, or water damage. This is the best time to address hidden issues before installing something new.
Step 2: Prepare the Installation Area
With the old toilet gone, it’s time to prep the area. Scrape away any leftover wax, putty or silicone sealant, and give the floor a good clean. Dry it thoroughly using rags or paper towels a dry surface helps everything stick better.
Use a level to make sure the floor surface is even. If not, you may need to shim the pan later to prevent wobbling. Inspect the flange for damage it should be solid and securely attached. If it’s cracked or loose, replace it before moving forward.
This is also your chance to check that the flange bolts are aligned correctly and spaced to match your new toilet. Fixing bolt alignment after installation is much trickier, it’s worth double-checking now.
Step 3: Install the New Pan
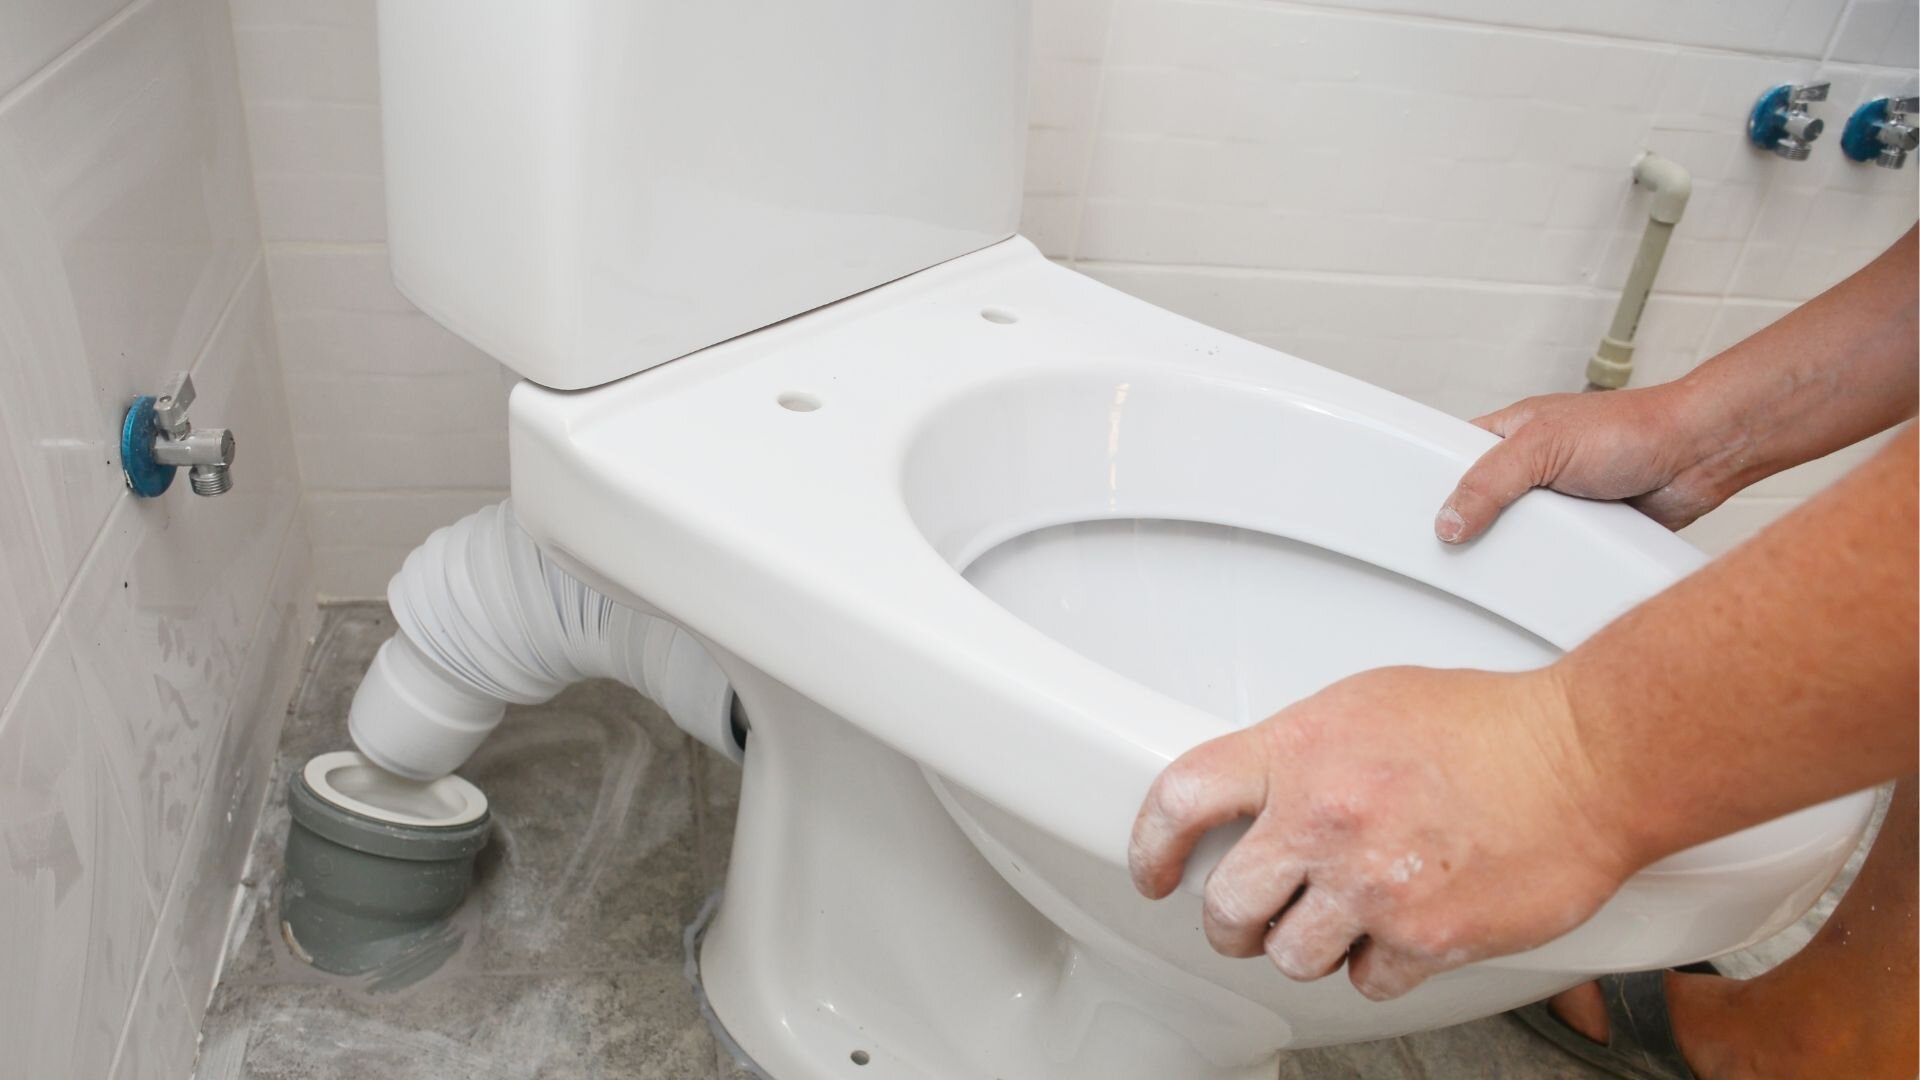
Now for the satisfying part, fitting the new toilet pan. Carefully lower the pan over the flange bolts, lining it up with the holes at the base. This part can be fiddly, so take your time and ensure a perfect fit.
Once the pan is sitting in place, press down firmly with even pressure. This helps compress the seal between the flange and pan. Don’t bounce or push too hard ceramic can crack if mistreated.
Next, tighten the bolts gradually using your spanner. A good tip here: alternate between bolts, tightening each one a little at a time. Avoid over-tightening, as it can easily chip the porcelain.
Give the toilet a gentle rock side to side it should feel snug and not shift at all. If there’s movement, check for uneven flooring and use shims if needed. A level pan ensures a secure, leak-free finish and prevents future wobbles that can damage the seal.
Step 4: Fit the Cistern
With the pan in place, it’s time to install the cistern. This is usually straightforward if you’re working with a close-coupled toilet, where the cistern sits directly on the pan.
Start by positioning the rubber gasket over the flush hole on the pan. This provides a watertight seal between the two parts. Then place the cistern onto the pan, aligning the bolt holes properly. Insert the fixing bolts and tighten them from underneath, following the manufacturer’s instructions.
It’s crucial not to over-tighten here too much pressure can warp the seal or crack the ceramic. Once the cistern’s attached, wrap plumber’s tape around the threads of the water inlet, then screw it into place. This helps prevent leaks once the water is turned back on.
If anything feels uneven or won’t sit flush, take a moment to reposition forcing it can cause bigger problems later on.
Step 5: Connect the Water Supply & Test
You’re nearly there! Reattach the inlet hose to the cistern’s fill valve. Double-check that all fittings are secure. Slowly turn the water supply back on and listen as the cistern begins to fill.
Watch closely for any leaks around the hose connection, base of the cistern, or pan. If there are drips, switch off the water and tighten the fittings slightly. If the problem persists, rewrap the threads with plumber’s tape and try again.
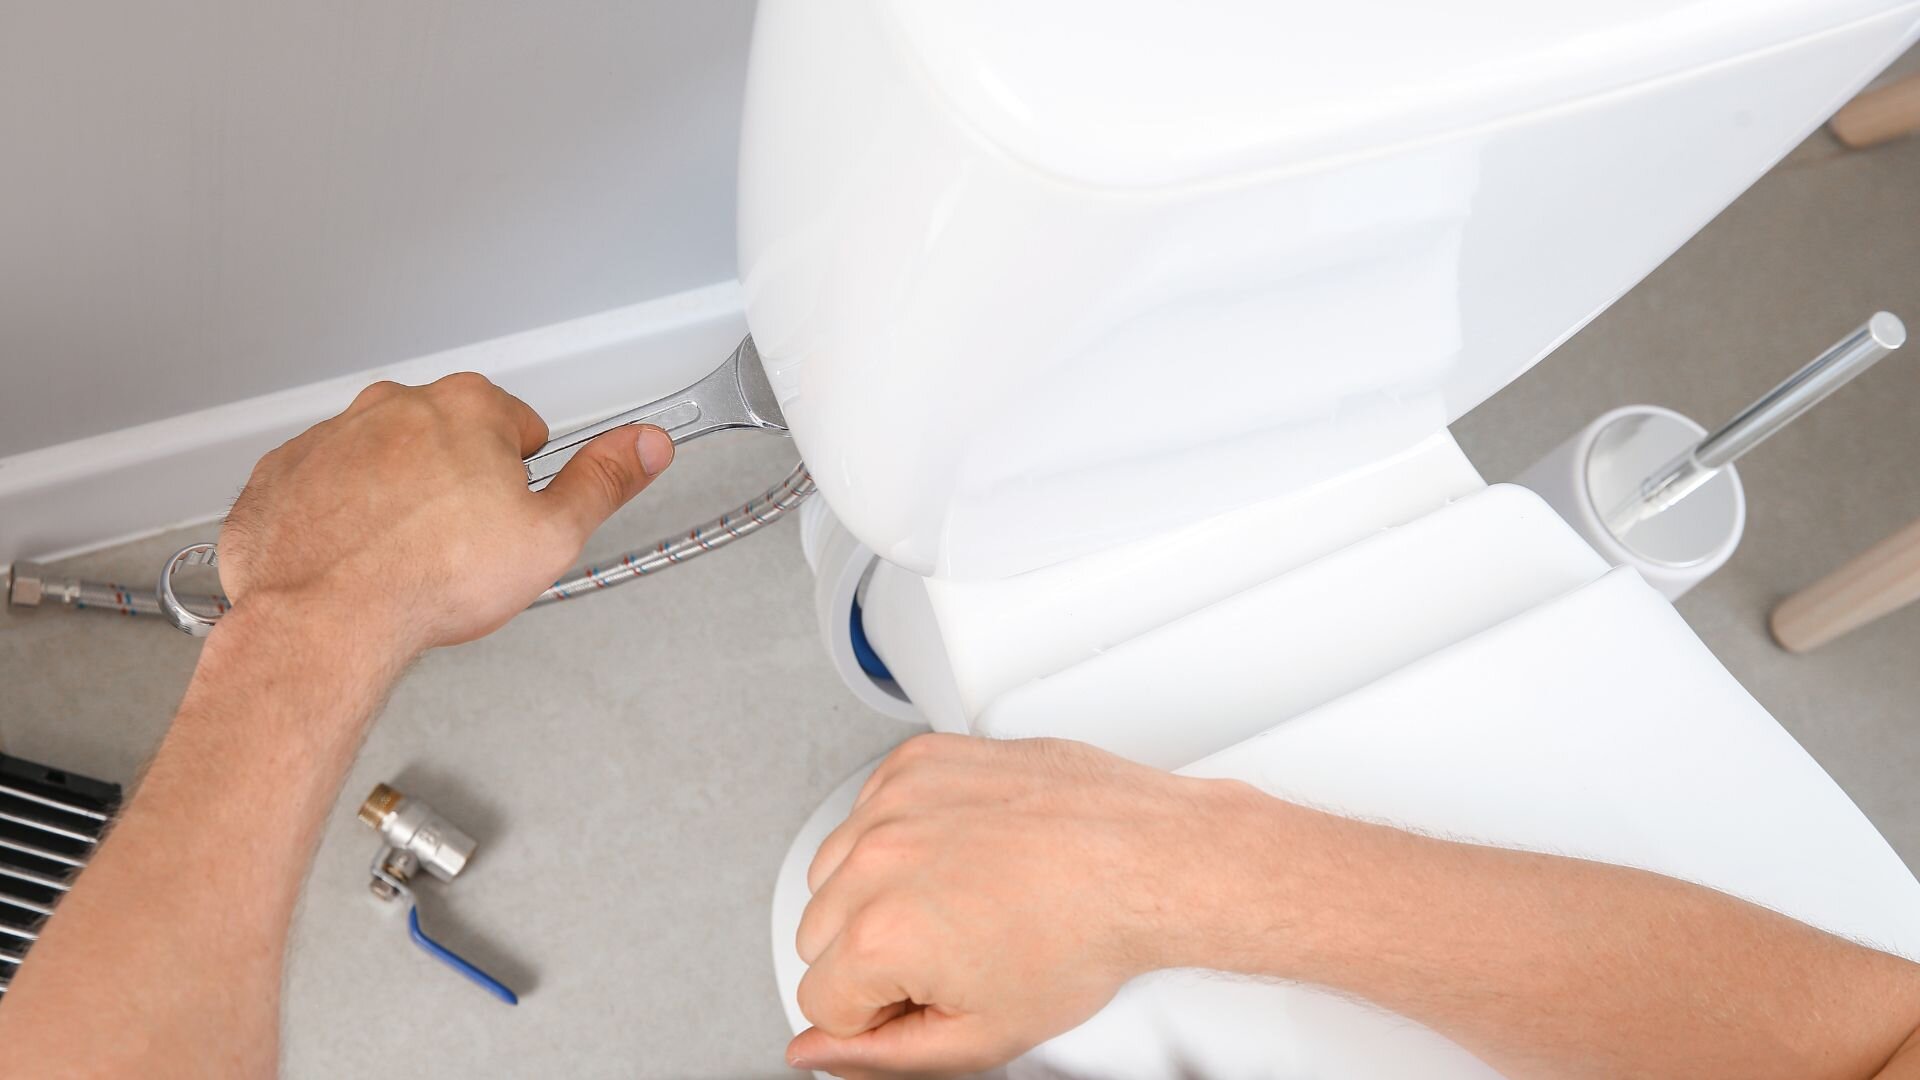
Once full, flush several times to test water flow and drainage. Keep an eye on the base for leaks. A smart trick place a few sheets of toilet paper around the base. If they remain dry after a few flushes, everything’s sealed up nicely.
Recheck the cistern bolts and flange bolts once more. Sometimes they need a slight tweak after water pressure builds. Just a quarter-turn can make the difference between snug and wobbly.
Seal the Base & Final Touches
Now for the tidy-up. Run a bead of silicone sealant around the base of the toilet where it meets the floor. This helps create a neat, professional finish and prevents water from seeping underneath.
Smooth the silicone with a gloved finger or sealant tool. Let it cure fully usually 24 hours before using the toilet. Check the label for specifics.
Once that’s done, clean up your workspace. Pack away tools, dispose of rags or towels, and give your hands a proper scrub. You’ve just installed a toilet not a small feat! Take a step back and admire your work. You’ve earned it.
Troubleshooting Common Issues
Even with the best planning, things can go sideways. If you notice a leak at the base, it’s likely due to a damaged flange or an improperly seated seal you may need to lift and reinstall the pan.
A toilet that runs constantly is often caused by a poorly adjusted cistern float or a faulty inlet valve. Adjust or replace the float to stop excess water flow.
If your new toilet is wobbling, it’s probably due to an uneven floor or loose flange bolts. Shim the base for stability and tighten bolts evenly.
Still stumped? Don’t stress. Some problems are best left to a licensed plumber, especially when it comes to water pressure or drainage issues.
Ready for a Flush Finish?
Installing a toilet isn’t everyone’s idea of a fun afternoon, and that’s totally fine. It’s a decent job for confident DIYers, but there’s no shame in calling for backup, especially if you hit a snag or simply prefer peace of mind.
That’s where Woolf Plumbing comes in. We offer professional, fully licensed toilet installations that take care of the hard work, from old unit removals to water-tight new fits. We know exactly what to look for, how to avoid common issues, and how to leave your bathroom looking better than ever.
If you’re ready for a smooth, stress-free experience, get in touch with Woolf Plumbing today. We’ll get your new loo up and running with zero fuss — and you won’t have to lift a finger (except to flush).


