Is the sound of water trickling from your toilet a common background noise in your home? It might seem minor, but this could be a sign of a leak. If ignored, it can turn into a bigger problem, causing water to gather on your bathroom floor. This needs prompt attention not only to prevent further damage but also for safety reasons.
A leaking toilet isn’t just bothersome; it can lead to hefty repair bills if ignored. The cause might be anything from a worn-out seal to internal component issues. Pinpointing the source of the leak is the first step towards fixing it.
If you want to avoid these issues in the future, it’s crucial to fix the leaky toilet as soon as possible. At first, it may appear daunting to do this alone, especially if you’re unsure how to turn the water off or properly flush the toilet to clear the system. Hiring a professional can entail costs, and you might prefer a more hands-on approach. That’s why we’re here to guide you through fixing water leaking from your toilet.
Let’s get started on stopping that leaking toilet, beginning with fixing the base of the toilet bowl!
The Reason Behind The Leak
Every toilet comes with a wax gasket, i.e., its seal, which keeps it fixed on the floor, prevents malfunctions, and protects the flooring from damage.
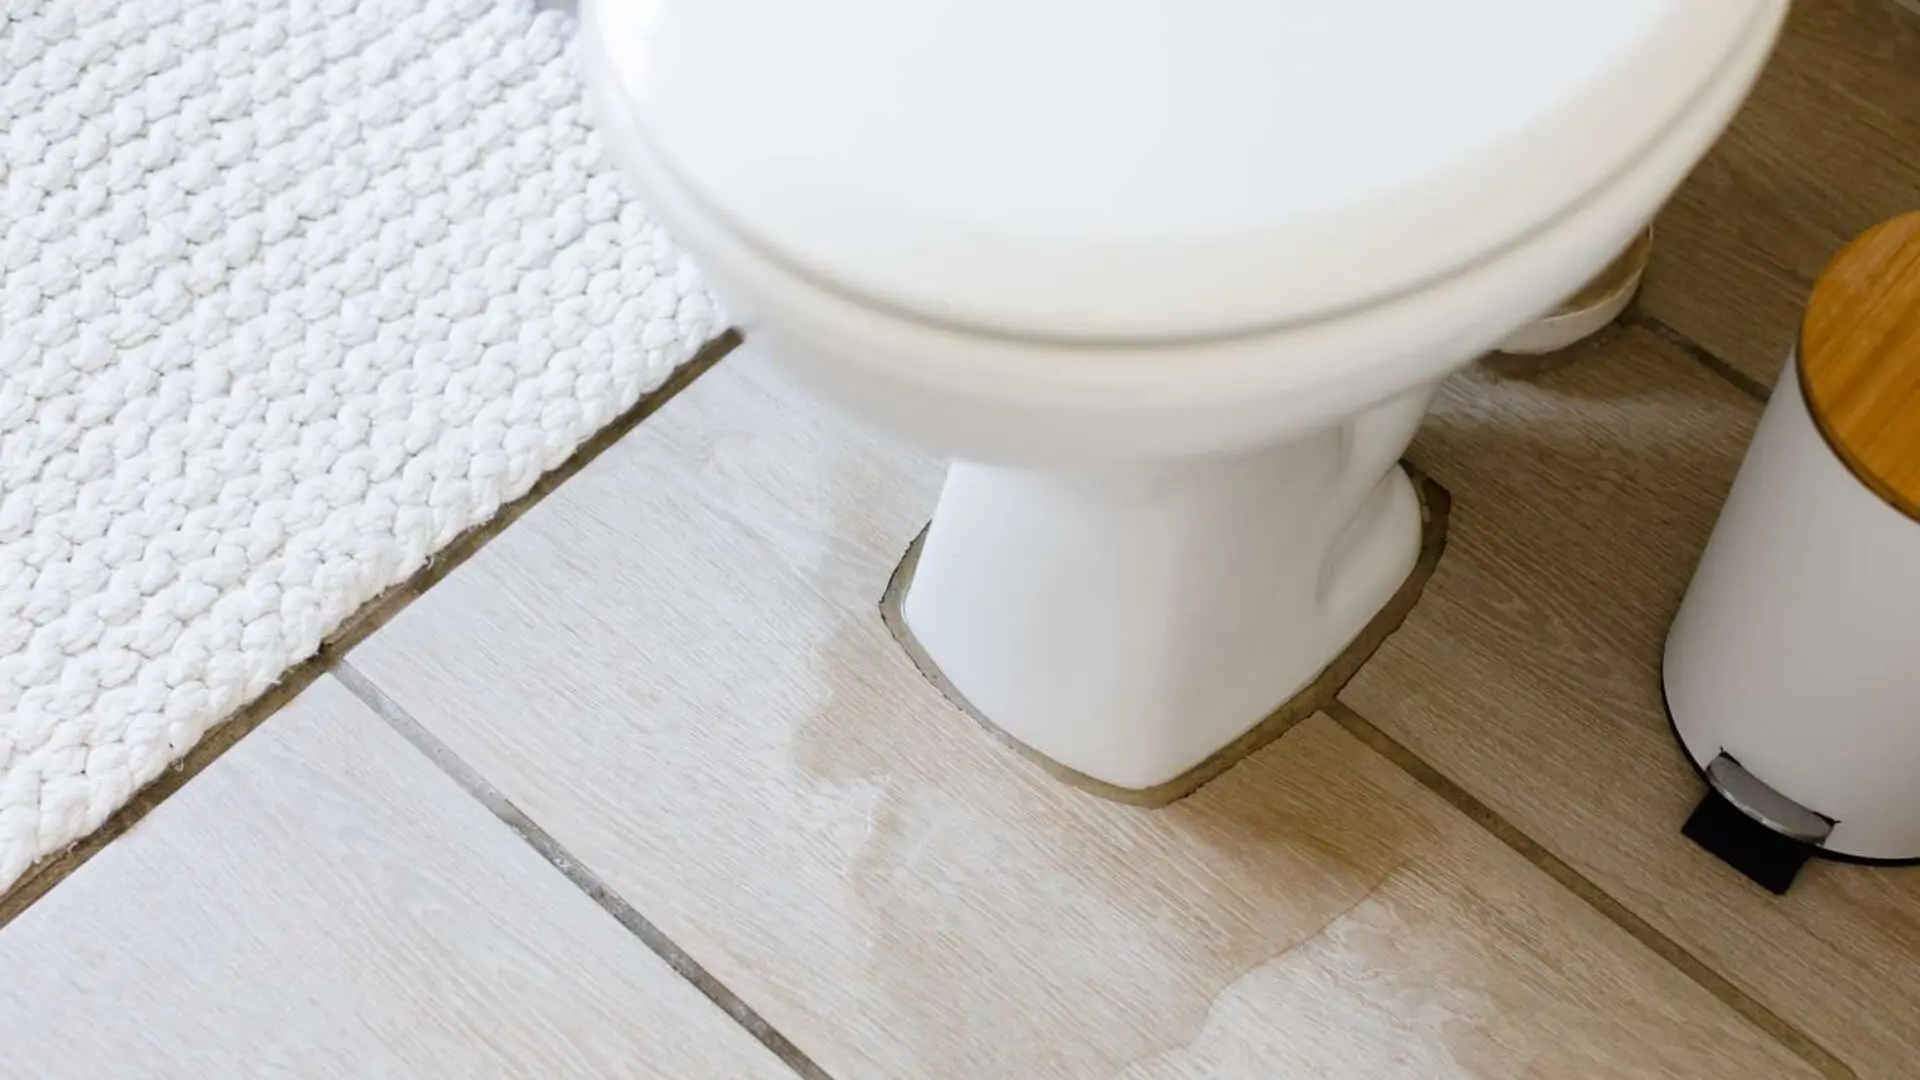
As such, leakage mainly occurs when the seal fails to function correctly. The only indication of this issue is a pool of water around the toilet base.
However, sometimes, the problem might lie elsewhere, so you can perform a test to determine the actual source of the leak. Soak up all the water pooling around with a sponge. Then wipe off the floor with a towel and wait until another puddle appears.
This way, you can check it to ensure that the leak source is around the base, not an efficient shutoff valve, a loosened supply tube, a crack in the tank or a running cistern issue.
Fixing The Leak
If the leak is coming from beneath the toilet, try tightening the bolts that fasten the toilet to the floor. Use a slotted screwdriver or a putty knife to pop off the caps covering the bolts.
Following this, tighten each of the bolts alternately using a wrench. Remember that you must not exert too much force, leading to a crack on the toilet base. Sometimes, these steps may help stop the leak and save all the extra effort of removing the toilet. Nothing could be better than that.
But if you don’t notice any improvement after tightening those bolts, it’s time to remove the entire toilet and replace the seal. Read on for the details regarding the procedure.
How To Remove The Toilet

Step 1:
First, turn off the shutoff valve to stop water from flowing into the toilet. The water valve is usually fixed in the base directly below or behind the toilet. To do this, turn its handle clockwise.
Step 2:
Now remove the tank’s lid, pull the flush, and hold the handle down so that almost all the water drainage system is from the tank. After this, soak the water remaining in the tank using a sponge. You can use a paper cup to remove water traces in the toilet bowl.
Step 3:
Next, you’ll have to disconnect the tube for the water supply by detaching the compression nut on the water valve. Then, pull out the caps of the closet bolts and separate the nuts using a wrench. If any bolts spin when you turn the nuts, keep the bolt in place using needle-nose pliers.
Step 4:
Grab the bowl rim directly beneath the hinges of the toilet seat and rock it gently so the seal breaks.
Step 5:
You must detach the toilet and keep it on any blanket or cardboard. Using a putty knife, remove the old wax gasket from beneath the toilet and the flange on the floor.
Step 6:
At this point, you must check whether the flange is bent or cracked, as sometimes it may break while scraping off the gasket. You’ll need to replace the whole flange with a new one or repair the broken part with a metal strap.
Step 7:
To install a metal strap on the flange, loosen the screws securing it to the flooring and insert a bolt in a part of the strap. Now, slide the metal strap beneath the flange. You must then tighten the screws on the flange so the strap locks in place.
To secure the flange further, install the rest of the closet bolts. If the bolts aren’t upright, use the old gasket to take some wax and put it around the base.
Step 8:
Finally, you must apply a fresh gasket to the flange, ensuring it is perfectly centred on it. On the market, you’ll find wax gaskets made of solid wax rings, the most common type of wax gasket you’ll see. To ensure that a strong seal is created with the toilet and flange, it is best to look for ones with a foam core made of inert material.
{{img:'birds-eye-view-of-toilet-980x551.jpg' | height | width | alt | title | lazyload}}
Installing The Replacement
Step 1:
If the toilet you’ll be installing has a chrome-plated copper water supply tube, you should detach it and install a more flexible one instead. A tube made using polymer enmeshed with stainless steel would be ideal in this regard. It would make the installation much more straightforward and extremely long-lasting.
On a side note, apply a pipe-joint compound at both ends of the water supply tube. One end must be tightened to the shank sticking out of the bottom of the tank.
Step 2:
Following this, you can put the leaky toilet in place by gripping the bowl near the seat’s hinges, lifting it and walking it to the flange. Make sure that you place the toilet correctly on the wax gasket. The bolts can be used as guides.
Step 3:
Then, slip the washer on the bolts and fix the nuts on them. But before you tighten them, press the rim of the toilet bowl down as firmly as you can so that the gasket is compressed and fixed firmly.
Step 4:
After you’re done, check whether the toilet tank is parallel to the wall at the back, and tighten each closet bolt until both fit perfectly. Again, press the bowl firmly, tighten the nuts further, and repeat this process until you’re sure the nuts don’t feel loose anymore.
You must also be careful not to apply too much force while using the wrench, or you might crack the toilet.
Step 5:
The next step is to use a hacksaw to cut the closet bolts almost level with the nuts and put the caps on the bolts.
Step 6:
Ultimately, you’ll have to tighten the loose end of the tube for the water supply line fixed to the shutoff valve. Then, open the inlet valve and flush the replacement toilet a few times. If you don’t observe any leaks, you can use the toilet for a few weeks and firmly remove the bolt caps to retighten the nuts. The toilet is sure to settle perfectly after a few uses.
Should You Fix A Caulk At The Base?

The caulk is a silicone tube fixed around the base to secure the toilet further. However, considering that the gasket or seal is strong enough to secure it, the need for a caulk is highly debated among plumbers. Most don’t use caulk since they believe it would conceal the leak.
However, in a few country municipalities, the local building code might require you to caulk the base to prevent bacterial growth in the fixture.
That’s why you must check with the local building department to know about the code requirements in the town. Lastly, make sure you purchase a mildew-proof and high-quality tub-and-tile caulk when deciding to use caulk.
Repairing Your Leaking Toilet
How do you feel about fixing the leaking toilet at your home now? You have a better idea about how to proceed, so go for it! And after the job is done, let us know how it went.
Before we sign off, here’s a small tip for you. Before starting, ensure you have all the tools, such as a wrench, a putty knife, a metal strap, and a screwdriver by your side. This way, you can access them quickly when needed.
That’s about it for today. If you need assistance with a leaking toilet in Perth, please don’t hesitate to contact us! Want to learn more about DIY toilet hacks? Read our guide on tightening your toilet seat!
FAQS - Toilet Leaks
What are the common reasons why my toilet is leaking?
Toilets leak for various reasons. They could be caused by a faulty fill valve, an old wax ring that’s no longer sealing properly, or a problem with the flush valve. Sometimes, the leak is coming from a cracked tank or bowl, which would require replacement.
How do I identify where a leak is coming from in my toilet?
Start by removing the tank lid and inspecting the fill valve, the flush valve, and the seal between the tank and the bowl. If you don’t see any issues there, turn on the water and watch for water to leak around the toilet base, which could indicate a problem with the wax ring.
Do I need a professional plumber if my toilet leaks into the sewer pipe?
A leaking toilet, allowing water to escape into the sewer pipe, can lead to serious plumbing problems. This type of leak often requires professional plumbing work, which may involve replacing the wax ring or adjusting the toilet’s connection to the sewer pipe.
Can a leaking toilet cause a significant increase in my water bill?
Yes, a continuously leaking toilet can lead to a noticeable increase in your water bill, as it wastes water all day. Even a tiny leak can waste thousands of gallons of water over a year.
How can I fix a leaking toilet tank?
If your toilet tank leaks, you may need to replace the fill valve or install a new flush valve. Both jobs can be done at home with the right tools and instructions, though don’t hesitate to call a professional plumber if you’re unsure.


