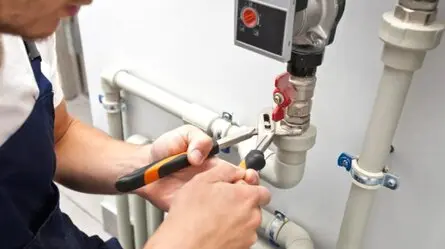
A loose, rocking toilet seat can quickly become a nuisance. As the bolts underneath loosen over time, the seat shifts and wobbles whenever you sit down. This awkward, uneven movement strains the loosened bolts even further. All that rocking can damage the toilet’s porcelain or internal parts.
Fortunately, you can fix a wobbly toilet seat in about 10 minutes. You’ll just need basic tools like an adjustable wrench and screwdriver—stuff you probably already own. Simply tighten the nuts on the bolts beneath the toilet bowl rim to keep the seat firmly in place.
In this article, we’ll walk you through tightening those pesky loose nuts and bolts in just a few minutes. Plus, we’ll share extra tips to help keep your toilet from wobbling in the future. With our simple tools and instructions, you’ll have your seat as steady as a rock in no time.
Why You Should Tighten A Loose Toilet Seat
A wobbly toilet seat is not just annoying—it’s unhygienic too. It shifts unevenly when you sit down, putting strain on the bolts. This can eventually cause leaks around your toilet’s base. Gaps can appear, letting dirty water and bacteria accumulate in tricky spots. Over time, all that rocking might damage the porcelain or hinges.
By tightening the bolts under the seat, you secure it firmly again. This simple action prevents the annoyance of an uneven seat, potential future leaks, and bacterial build-up in gaps. It’s a quick and straightforward fix that can save you headaches later.
Gather These Simple Tools
Luckily, tightening a toilet seat requires only a few basic tools you likely have on hand:
- Adjustable wrench - For tightening nuts on seat bolts
- Screwdriver - For adjusting screw bolts
- Towels - To soak up any water around the base
- Gloves - For protection when handling toilet
- Flashlight - To see bolts better
- Bucket - For removing the seat completely (optional)
- With these supplies, you’ll be equipped to tackle this quick toilet fix.
Preparing To Tighten The Toilet Seat Bolts
Before getting started with the actual tightening, take a few preparatory steps:
Turn Off the Water Supply and Empty the Tank
Locate the water supply valve behind or underneath the toilet tank. Turn it clockwise to shut off the water. Then, flush the toilet to empty any remaining water in the tank.
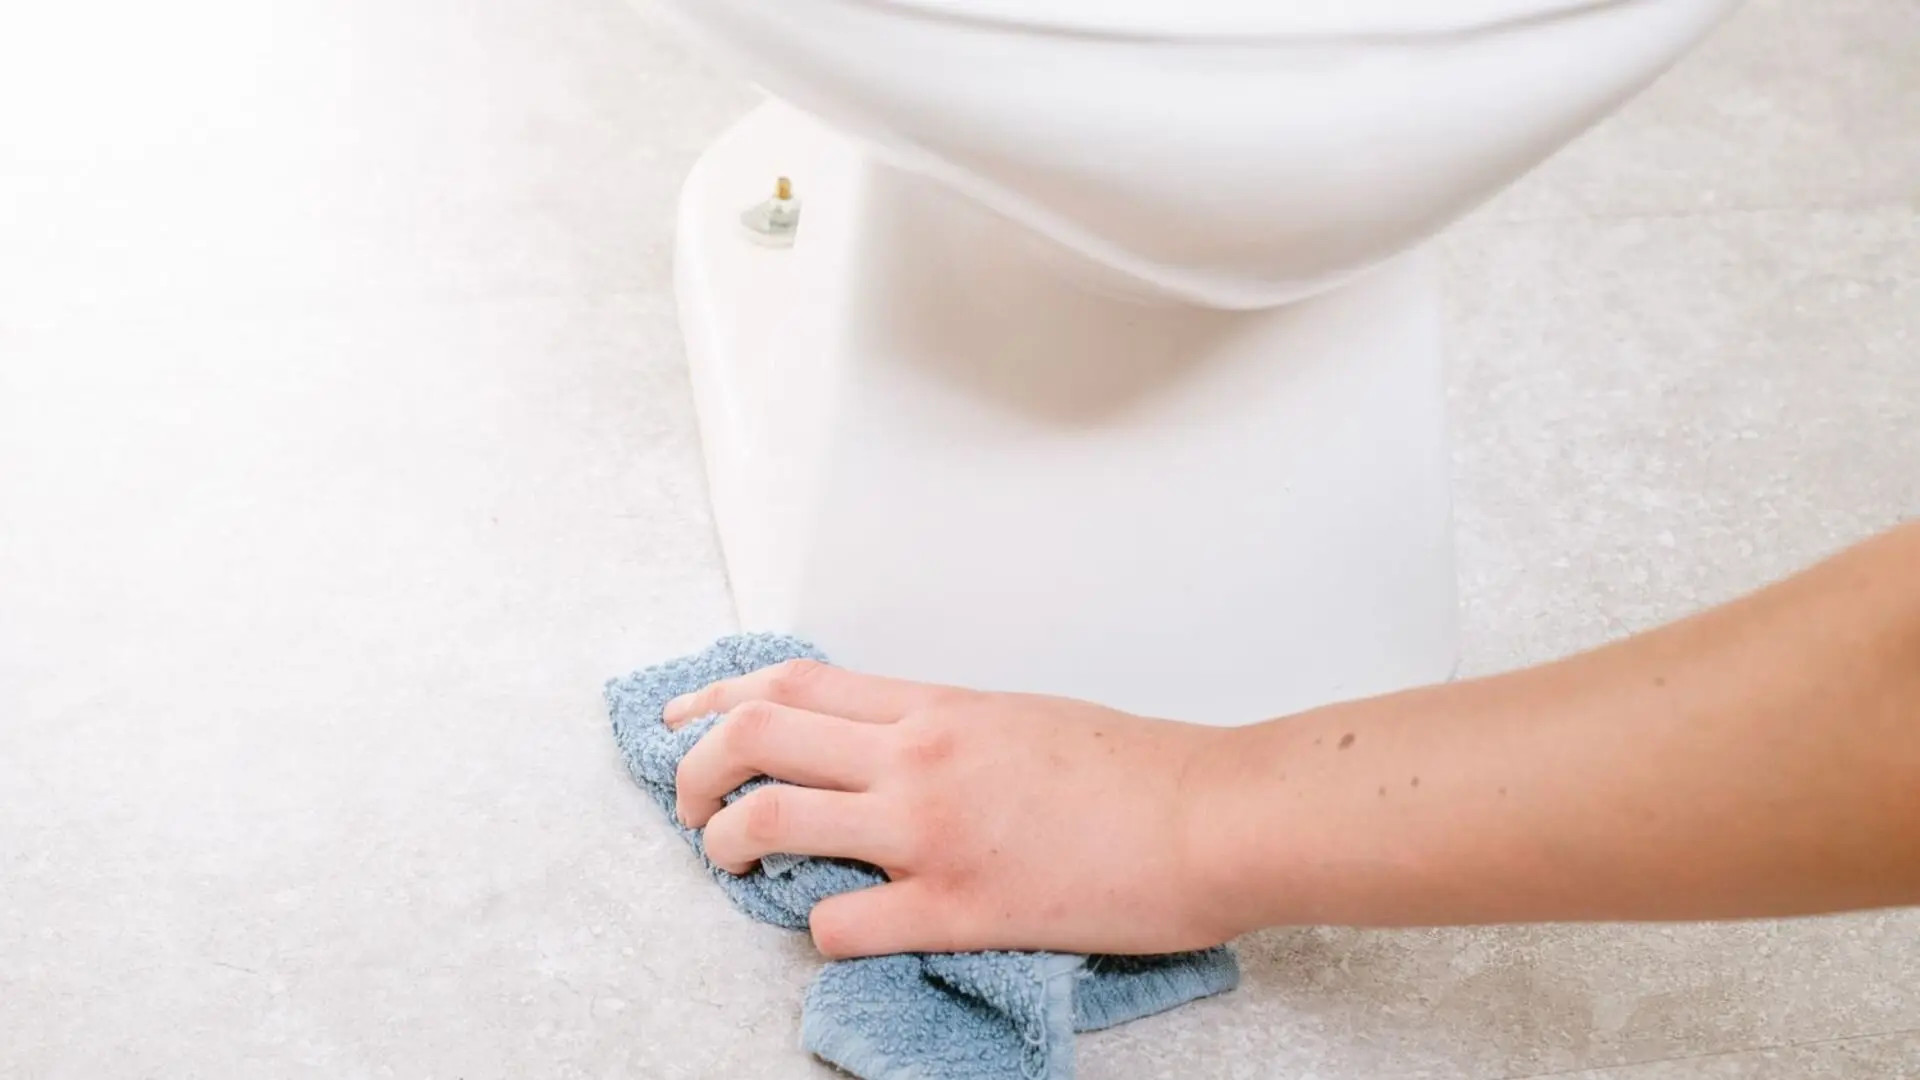
Dry the Surrounding Area
Use a sponge to soak up any water around the base of the toilet bowl. Having a dry work area makes the process easier.
Put On Gloves and Grab Tools
Slip on gloves to protect your hands. Then, have your adjustable wrench and screwdriver ready to tighten the nuts and bolts.
Tightening the Toilet Seat Bolts
With the prep work done, move on to tightening the bolts:
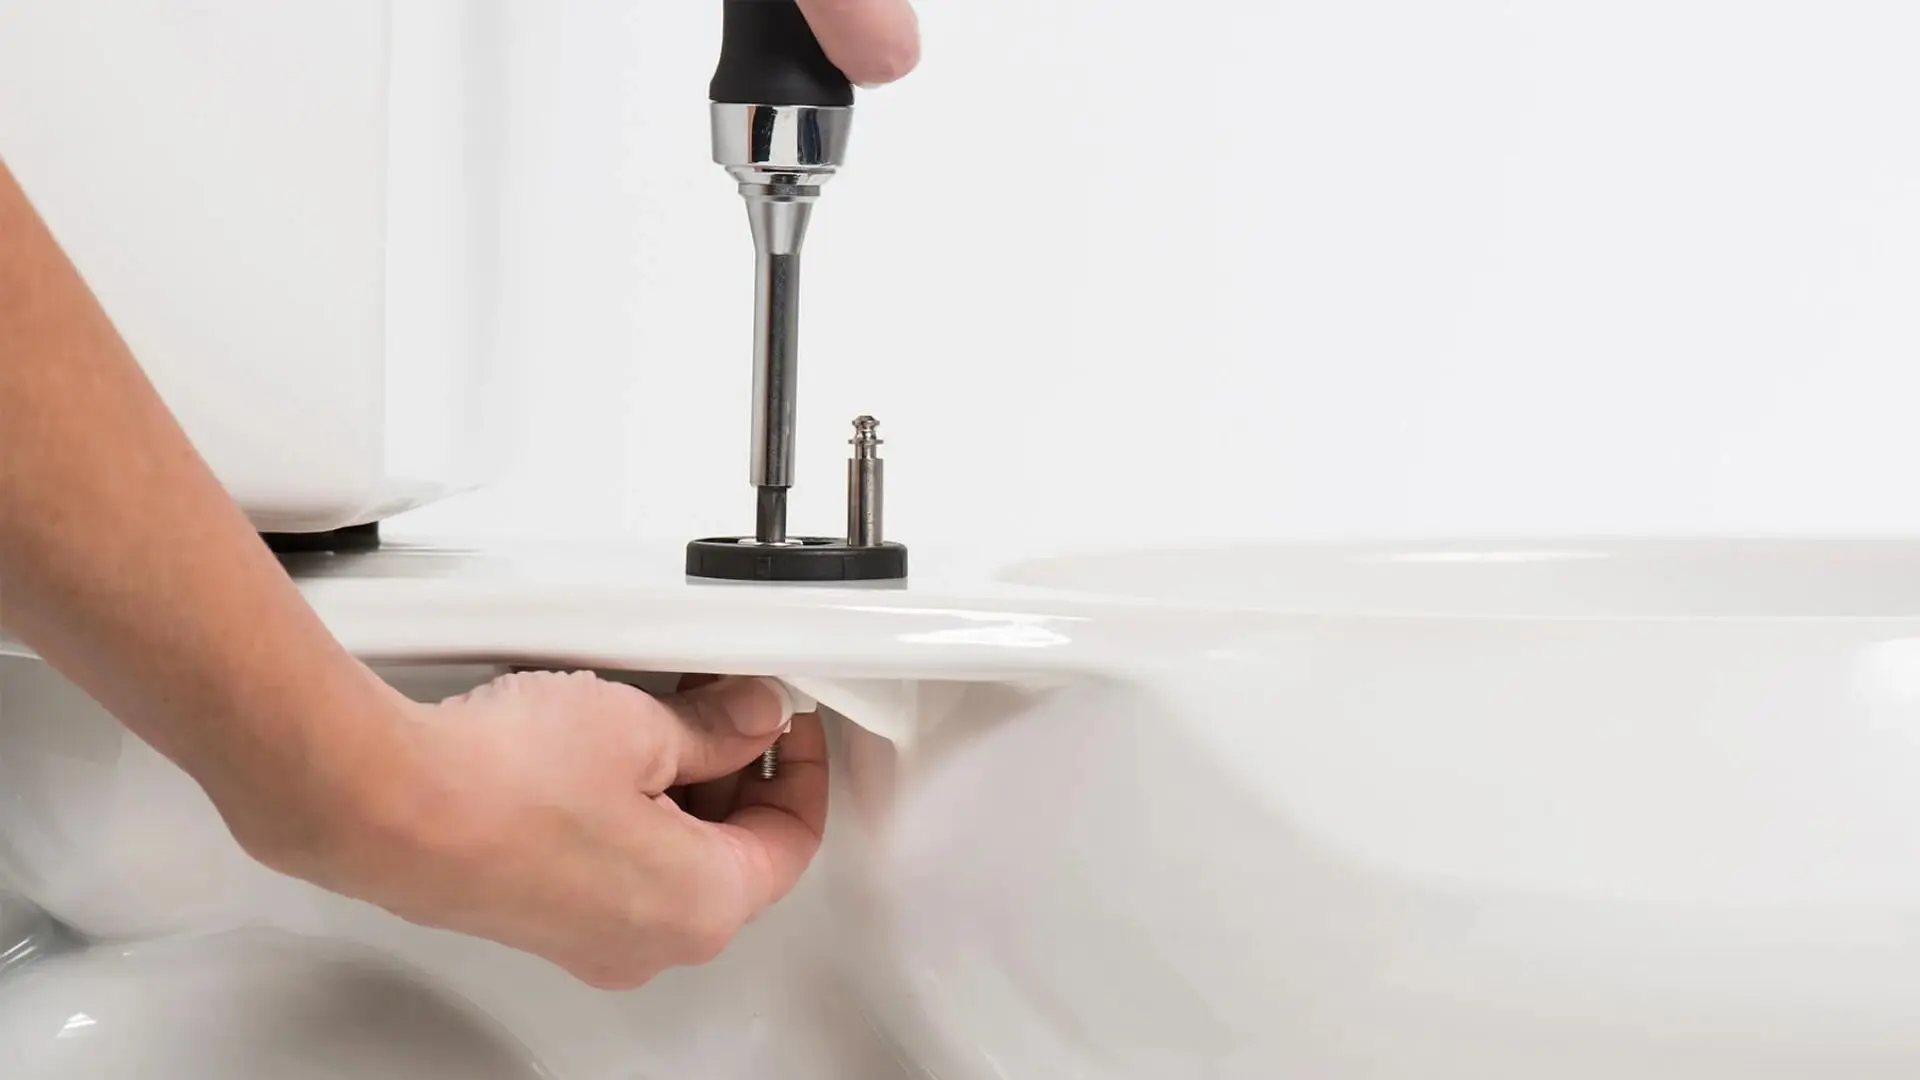
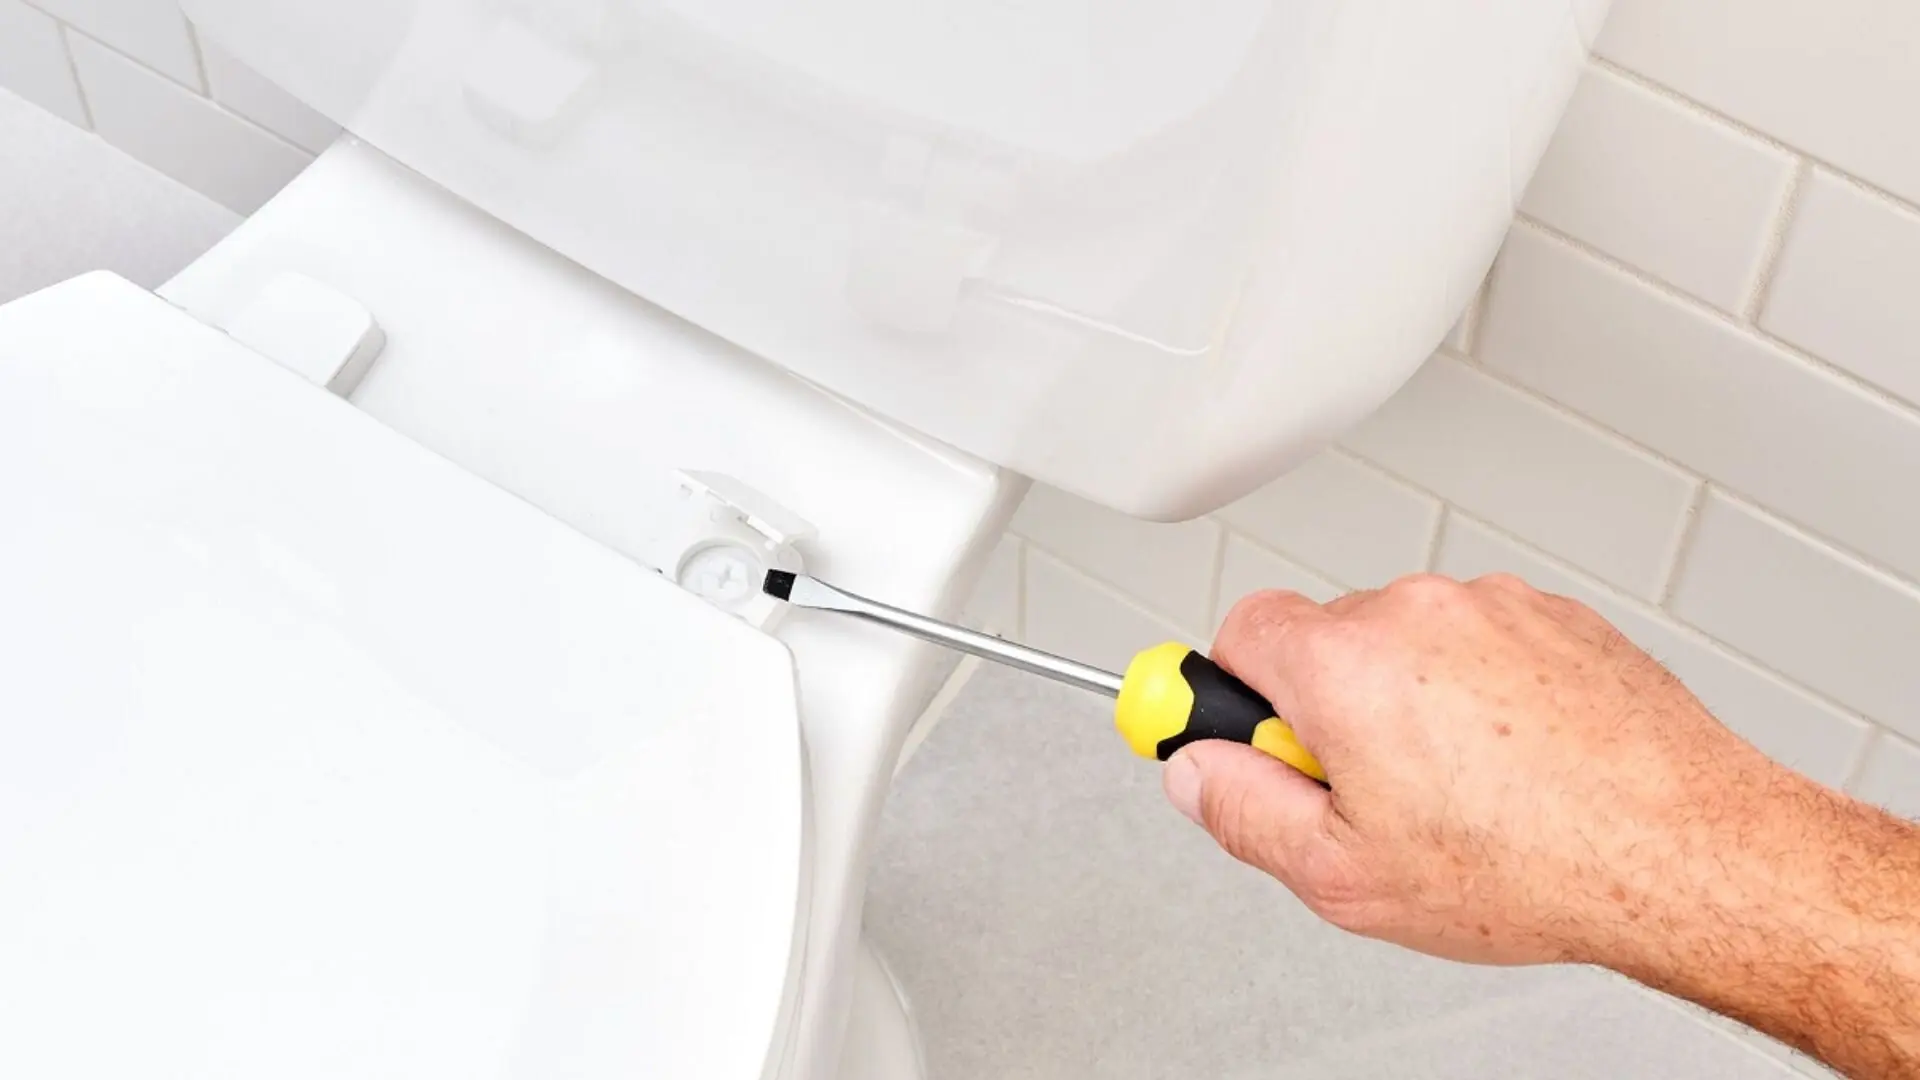
Access the Seat Bolts
If you have a cushioned seat, unscrew it first to access the plastic seat underneath. Then, locate the nuts on the bolts underneath the bowl’s rim.
Tighten in Quarter Turns
Use the adjustable wrench to tighten the nuts in small, quarter turns clockwise. Go slowly to avoid cracking the porcelain.
Don’t Overtighten
Tighten until snug but not overly tight. Overtightening can also damage the toilet bowl.
Troubleshoot Stubborn Bolts
If the bolts don’t tighten, apply penetrating lubricant. This helps loosen stubborn bolts for tightening.
Finishing Touches
Once the bolts are tightened, wrap up:
Reattach Cushioned Seat
If you removed an outer cushioned seat, screw it back into place atop the tightened plastic seat.
Turn The Water Supply Back On
Turn the water supply valve counterclockwise to return the water to the toilet tank.
Test Results
Sit on the seat and wiggle slightly to confirm it remains firmly attached without rocking or wobbling. Enjoy your newly tightened toilet seat!
Toilet Maintenance Tips
To keep your toilet working well, include some simple routine maintenance. Regularly clean the bowl using a disinfecting cleaner to prevent the build-up of grime, minerals, and bacteria. Make it a habit, and you’ll ensure your bathroom stays fresh and hygienic.
Also, inspect the toilet periodically for any leaks or dripping water. Address any small leaks you find right away before they worsen. Replace the flapper valve inside the tank every few years or when it appears cracked or worn out. The flapper is essential for controlling the flow from the tank to the bowl. A monthly toilet bowl cleaning product can also help prevent blockages, mineral deposits and hard water stains from building up inside the bowl.
In addition to these DIY maintenance tasks, have a licensed plumber inspect your toilet thoroughly about once per year. They can spot potential problems and make repairs to prevent bigger issues. Tightening the bolts on a loose toilet seat every few years helps maintain a snug, wobble-free seat. Proper maintenance like regular cleaning, part replacement when needed, annual inspections and periodic bolt tightening will go a long way in keeping your toilet running smoothly for years.
Know When To Replace Your Toilet Seat
A few clear signs indicate when it’s time to replace your toilet seat. Visible cracks, chips, or dents mean the plastic is weakening to the point of needing replacement. Rust or corrosion on the seat hardware also indicates aging. A new seat is required if the hinges become broken, so they cannot be fixed or adequately tightened.
Generally, toilet seats older than 5-10 years should be replaced as age leads to wear and tear. If you constantly have to re-tighten the bolts on a loose seat, that’s a sign the plastic is warped or worn out. Replacing an aging, damaged seat with a new one improves comfort and hygiene, as worn seats allow more bacteria to build-up in crevices. Periodically inspecting your seat for warning signs will allow you to swap a fresh replacement seat when needed.
DIY Toilet Seat Replacement
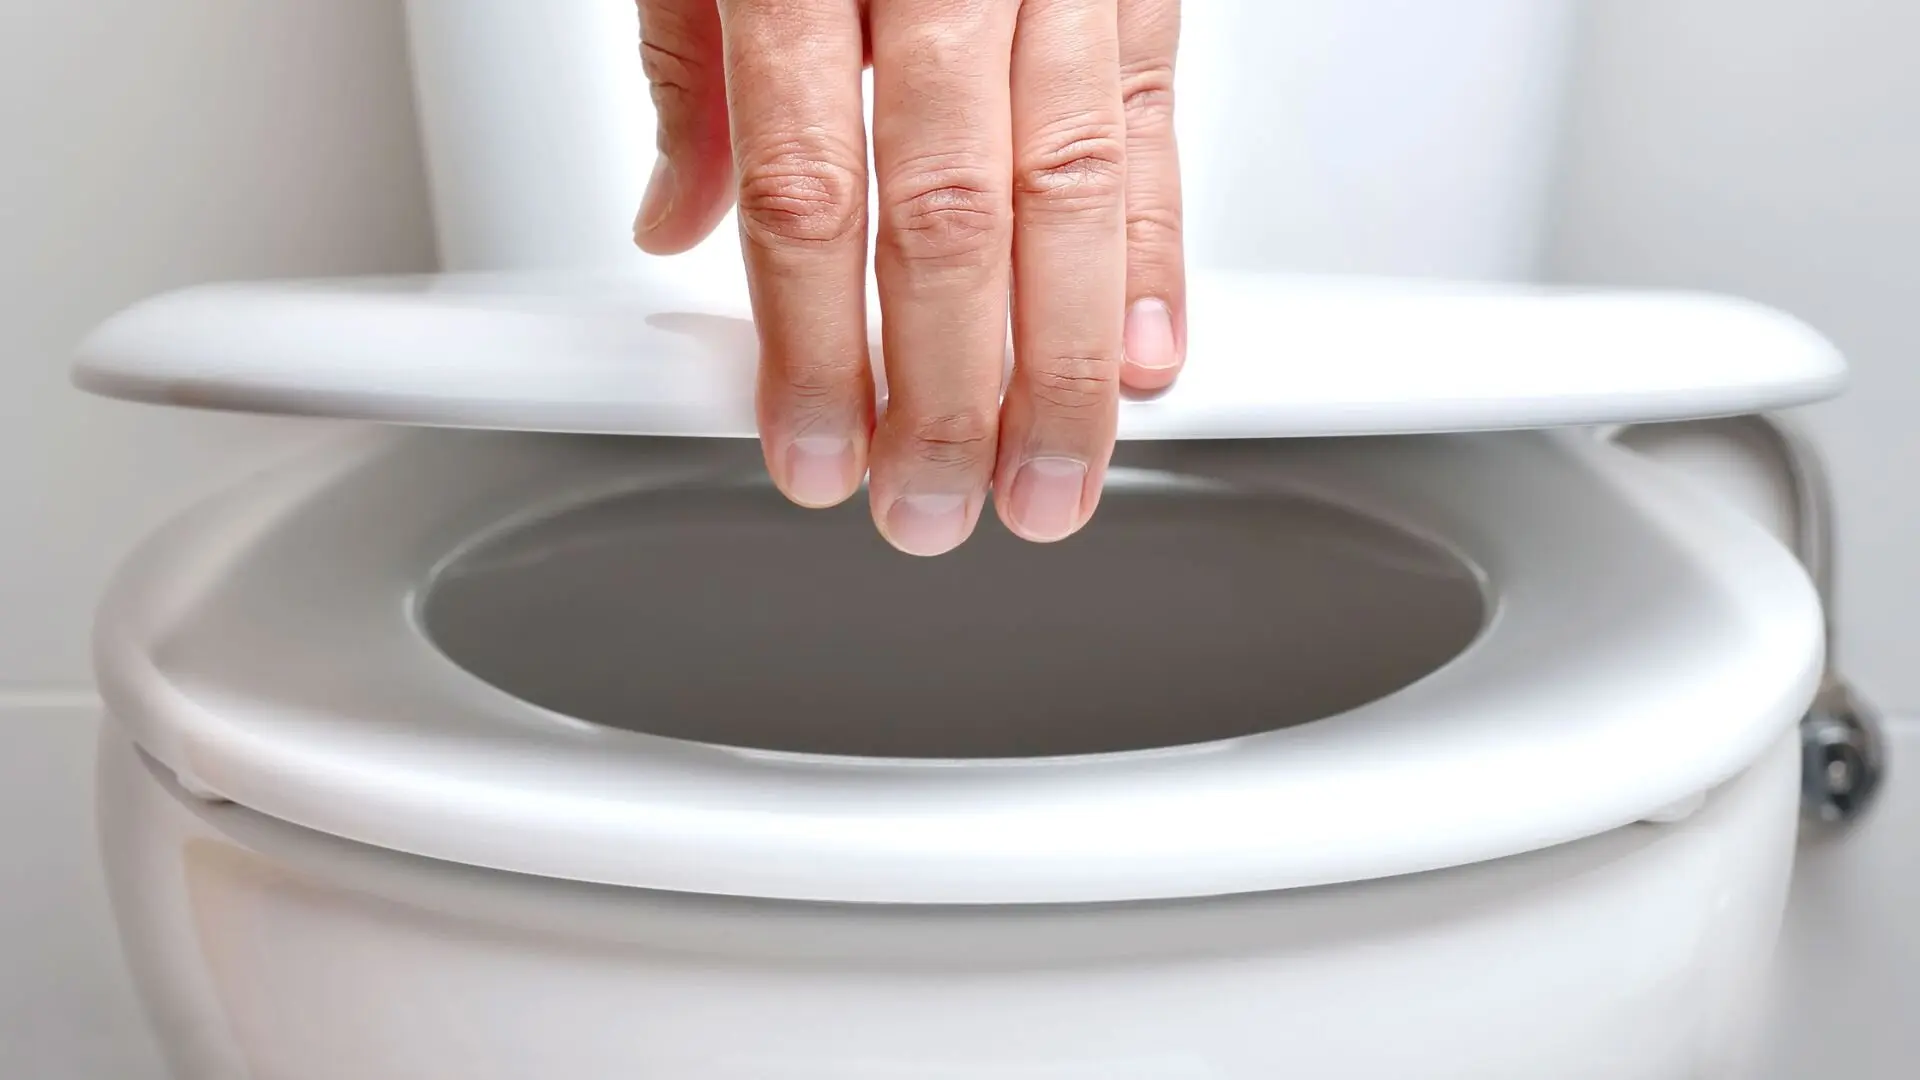
Replacing a toilet seat yourself is a straightforward project that takes less than an hour. Follow these steps:
Turn Off The Water Supply And Flush The Toilet
Start by locating the water supply valve behind or under the tank. Turn it clockwise to shut off the water. Flush the toilet to empty the tank.
Remove Old Seat
Using your adjustable wrench, unscrew the nuts under the rim to detach the old seat. Remove it fully.
Clean the Bowl Rim
Wipe the now exposed porcelain rim thoroughly with a clean rag or sponge. Remove any gunk or build-up.
Install New Seat
Align the new seat on the cleaned rim, insert the bolt posts into the existing holes, and tighten the nuts securely under the rim.
Reconnect Water Supply
Turn the supply valve counterclockwise to turn the water back on and fill the toilet tank.
Test New Seat
Sit on the new seat and wiggle slightly to confirm it feels snug and stable. Enjoy your upgraded, easy-to-clean toilet seat!
Get Professional Help For Tricky Toilet Repairs
A toilet seat that doesn’t shift or wobble makes using the bathroom much more comfortable and hygienic. As we’ve covered, it takes about 10 minutes and a few simple tools to tighten a loose seat by securing the bolts underneath. Combine this quick DIY tightening with regular maintenance like cleaning, flapper valve replacement, and having a plumber inspect annually, and your toilet will stay in top shape for many years to come.
However, if you need help with toilet repairs beyond routine maintenance, know that our licensed plumbers at Woolf Plumbing & Gas can help. We have years of experience providing prompt, professional toilet repair and replacement services in the Perth area.
If you need help with a stubborn, wobbly toilet seat, troubleshooting persistent clogs, or replacing an old toilet, reach out to us. Our skilled plumbers will assess and fix any issues swiftly and efficiently. Let us help get your toilet functioning like new again. Contact us today to schedule a visit or get a quote for any toilet service you need.


